
I think everybody knows this, but let me rephrase: designer and creator of the Gloomhaven, Isaac Childres, never stops to positively surprise the community of that great game. Example? One of the best are the Solo Scenarios for all 17 characters which he created as additional, free of charge content. They can be found in that BGG thread, or directly on Google Drive.
There are pre-requisites though to be allowed to tackle them. You must be at least at prosperity three and have minimum two retired characters to unlock them. But it is worth it! Each of them gives not only additional experience and money but also unique class items.
Our Gloomhaven Campaign in chronological order:
#1 Black Barrow, #2 Barrow Lair, #3 Inox Encampment, #69 Well of the Unfortunate, #4 Crypt of the Damned, #5 Ruinous Crypt, #93 Sunken Vessel, #10 Plane of Elemental Power, #21 Infernal Throne, #14 Frozen Hollow, #19 Forgotten Crypt, #27 Ruinous Rift, #8 Gloomhaven Warehouse, #7 Vibrant Grotto, #20 Necromancer's Sanctum, #6 Decaying Crypt, #28 Outer Ritual Chamber, #94 Vermling Nest, #95 Payment Due, #13 Temple of the Seer, #16 Mountain Pass, #43 Drake's Nest, #18 Abandoned Sewers, #25 Icecrag Asent, #28 Outer Ritual Chamber (#3), #29 Sanctuary of Gloom, #55 Foggy Thicket, #56 Bandit's Wood, #72 Ozing Grove, #59 Forgotten Grove, #60 Alchemy Lab, #22 Temple of Elements, Solo Scenarios, #81 Temple of Eclipse, #24 Echo Chamber, #15 Shrine of Strength, #33 Savvas Armory, #32 Decrepit Wood, #43 Drake's Nest (#2), #23 Deep Ruins, #26 Ancient Cistern, #31 Plane of Night, #40 Ancient Defensive Network, #41 Timeworn Tomb
I discovered this fantastic addition only once we were pretty advanced in our Gloomhaven journey. Still, this is so much joy that now, with every new character unlocked, we play them. And with recent massive retirements, there were three occasions for such a game – more on them below!
Michal (Sawbone)
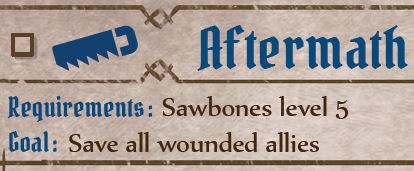
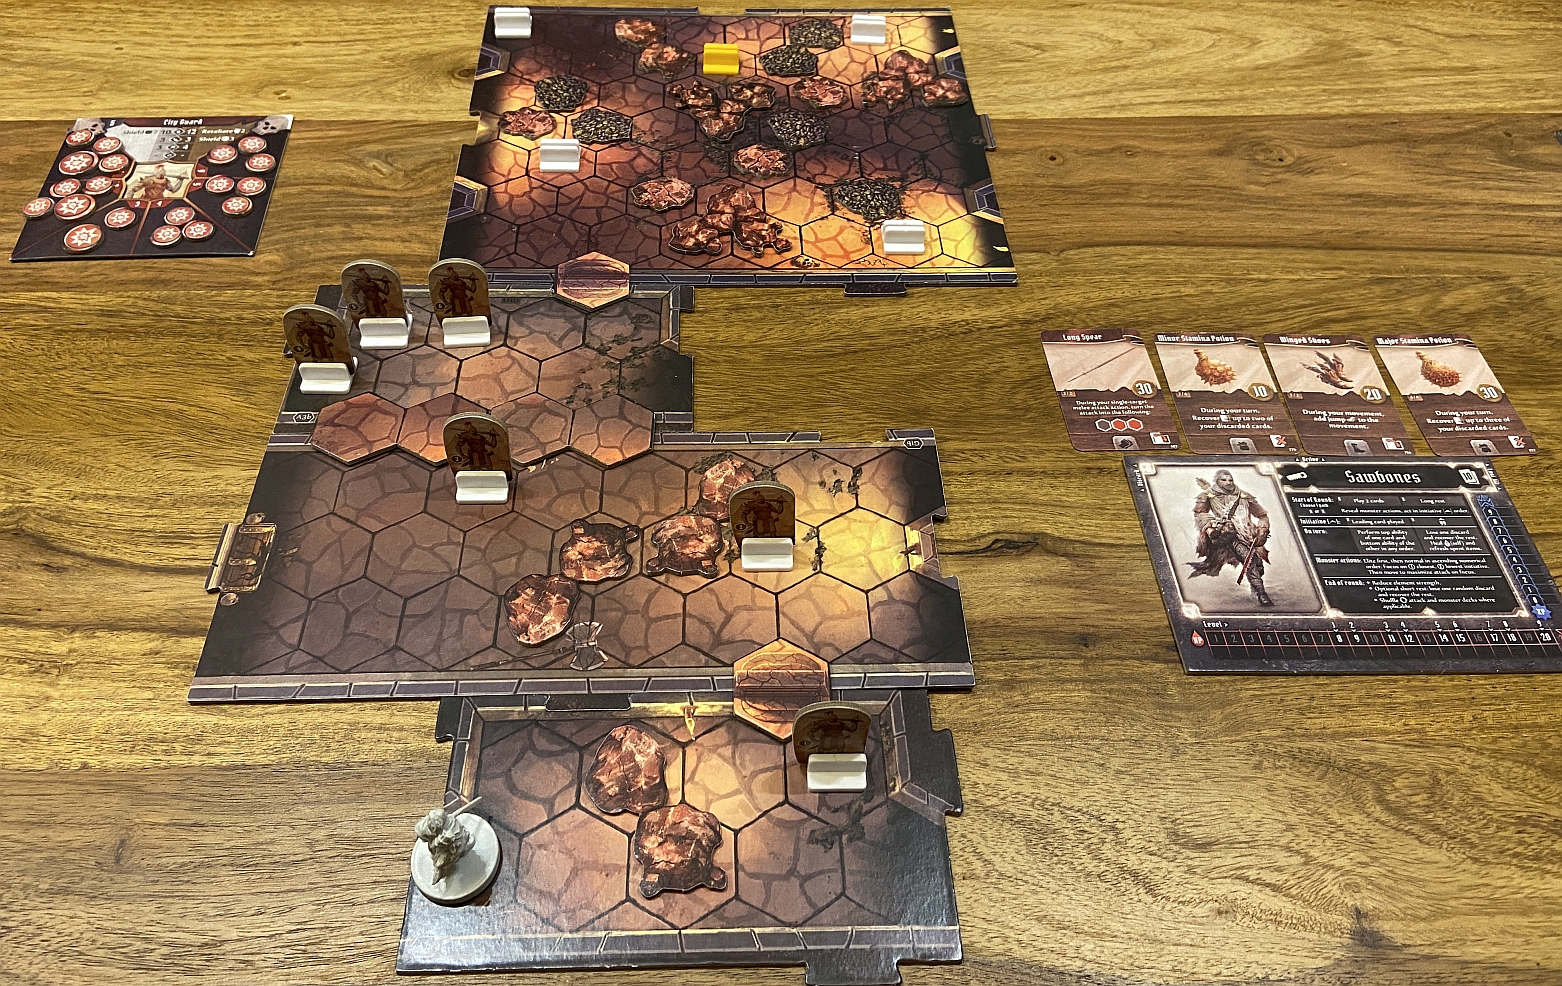
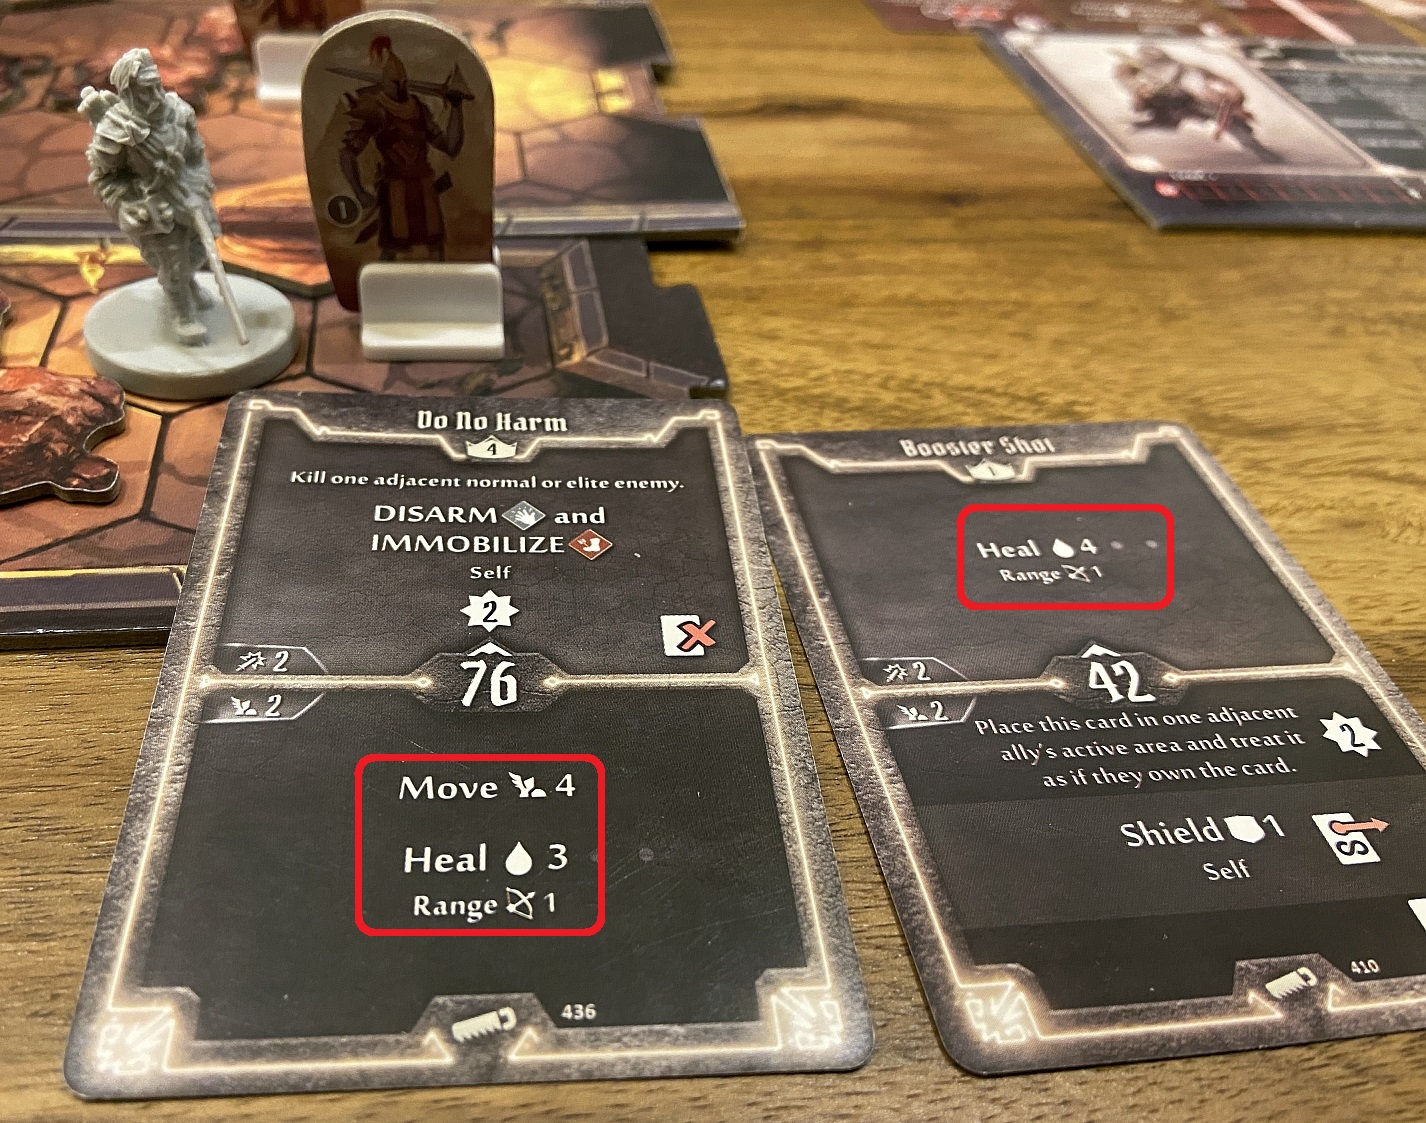
Let me present first my mission. My character – Sawbone – is a strict support character which – controversially – I play in completely different way, focusing on damage dealing. Still, the solo scenario is exactly what would you expect – you need to save your allies who are wounded and their life is deteriorating each turn.
I started on Very Hard level but lost in last room – see below. The problem was that I was not healing fast enough and building optimal route among dispersed and blocked by rabble characters was not easy.
Having swallowed that bitter lesson I restarted, deciding to play now on Hard level. That was much easier, as I did not have to use so much heal on allies before they were recovered. And of course I knew what and where will be in the room now! See below how it went!


KubaJ (Quartermaster)

The next solo scenario to be describe was played by KubaJ for his Quartermaster. His was much shorter and smaller but equally demanding. Please have a look at the map and yo will know why:
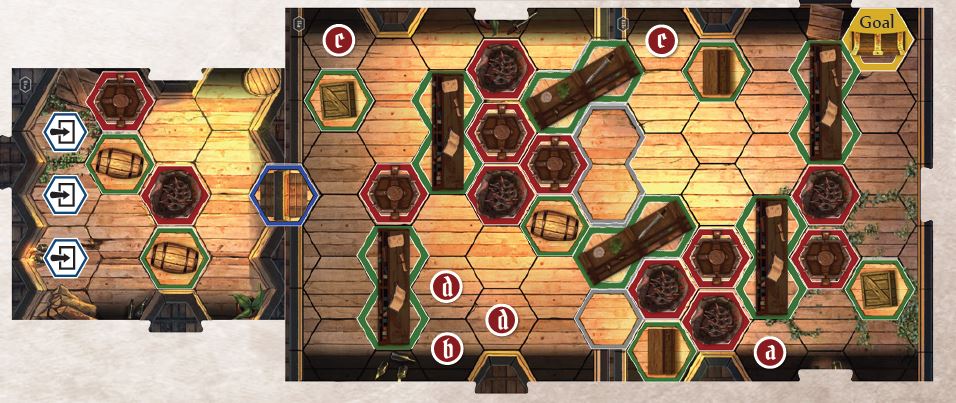
The paths is pretty much obscured by various obstacles and traps. While pretty heavy on HP, in this scenario Quartermaster has not only to get the treasure but also to kill all enemies. Was it difficult? Well, according to Kuba, very much 🙂
He made 3 attempts, all on Very Hard difficulty level, each time being pretty close to victory, which he in the end achieved in last game. He learned a lot about monsters movement, especially when multiple paths through traps are concerned. Congrats!
KubaG (Berserker)

The last to present is Berserker, led by KubaG. His scenario – as befits his character – was a pure carnage through all the enemies, staying on low health and using all possible buffs which that special class gets in such cases. And his paths was long, very long, with pretty powerful enemies:

One thing which you need to know about that character, is that although very powerful in appropriate circumstances, it can be also pretty volatile – one unsuccessful attack can be decisive, especially if you play alone and have no support from other units.
That is exactly what happened to our Berserker – he failed twice at critical moment in two attempts on Very Hard and never recovered. KubaG still plans to solve this solo scenario, but he needs some break before he attempts again. Which is quite understandable, as it can be pretty frustrating to lose at the last moment 😦
Summary
Solo scenarios are great fun – you can really immerse yourselves in the game and try to solve very hard puzzle. And the rewards are fantastic:


Thank you!

The Quartermaster’s solo isn’t difficult by itself. The character is just overpowered(infinity loop, ability to recover 5 cards/nett 3, during a single turn thanks to basic action instead rest, or attack /healand recover 2 cards if you don’t need to move) . My problem was that at lvl 5(monster level, at very hard) monsters are strong and hit quite hard and the cards i’ve picked with levleup(to lvl 6) weren’t ment for that particular scenario and i lacked single target strong attack, preferably ranged. Both losses were minimal, 1 monster left. As long as quartermaster can keep some 8-9 cards, the engine works well(with stamina potion, item recovery modifiers in deck), once cards start to get lost, it’s getting much worse(i had to burn once card to keep jump boots refreshed all the time). In the third attempt i managed to kill archers quicker and melee units had to move through many traps that dealt big damage, i could stay stay safe for most of the time and slowly weaken enemies.
LikeLiked by 2 people