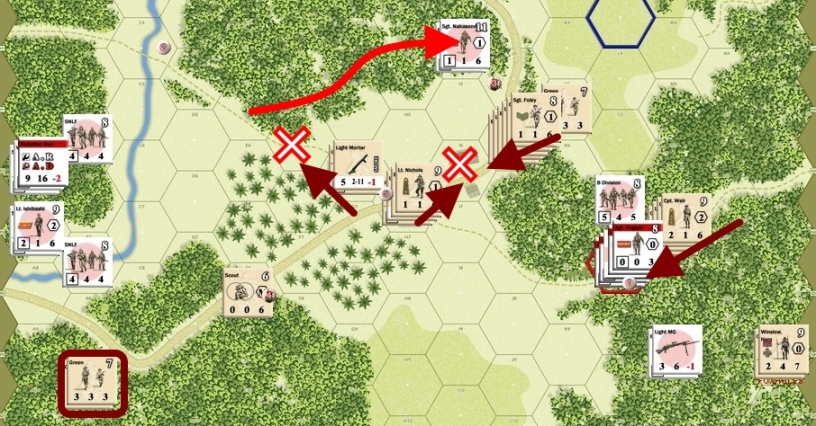
While our Pacific campaign tempo is somewhat slower than it was in the case of European one, we still progress nicely in our goal to play all Combat Commander Pacific Base Game scenarios. And I must admit that I am enjoying those new set-ups, battles and rules. This is so much refreshing, different and interesting! This will be exactly the case with the below battle – let us have a look into the details.
Combat Commander Europe campaign:
#1 Fat Lipki
#2 Hedgroves and Hand Grenades
#3 Bonfire of the NKVD
#4 Closed for Renovation
#5 Cold Front
#6 Paralyzed from the West Down
#7 Bessarabian Nights
#8 Breakout dance
#9 Rush to contact
#10 Commando Schools
#11 Hold the Line
Combat Commander Pacific campaign:
#A Grassy Knoll
#B Ambush at Mogaung is a very special scenario. We are in the Northern Burma in June 1944 – in the true Hell on Earth. A battered 77th Chindit Brigade (Michal, Commonwealth, Recon posture) on its retreat stumbles on equally ragged Japanese column (Dave, Japan, Recon posture). The Britih/Indian troops quickly form up an ambush formation and attack the enemy.
In the game terms this means that Japanese units are constrained to set-up along the trail, going from left to right of the map with max 1 unit at hex, while Allied forces takes positions adjacent to it, however with all their teams broken. We knew from the start it will be exciting and crazy scenario – exactly what we love in this game!
You can click on every image and enlarge it for better visibility.


Summary
That was hell of scenario – but what would you expect from brutal and unforgiving battle in the jungle of Burma? We learned a lot about Pacific specifics – especially how deadly the Melee can be, and the possibility of Japanese units to avoid it (it is resolved only at the beginning of Allies turn). Small mortars proved to be a devastating weapon in this terrain and well-placed Scout – although finally killed – played key roll in this game.
There were moments of doubt on both sides, but slowly and steadily the historical result was achieved. Now over to Scenario #C, where we will be witnesses to the first banzai charge in this game! Stay tuned!


Great write-up!!!
I would like to have seen what would have happened if I had noticed my overstacked (for melee purposes) hex was actually in the LOS of a mortar. I would definitely not have done that! But I think you still would have won, it would just have been more of a nail-biter.
LikeLiked by 1 person
True, and I noticed it truly post-factum!
LikeLiked by 1 person
Oh wow, what carnage! Looking forward to the Banzai charge in the next scenario!
LikeLiked by 1 person
That was definitely our most bloody scenario ever. The #3rd is indeed Banzai (we just completed it, report soon) and the #4th is gonna to be an Invasion!
LikeLiked by 1 person
Hello, first of all congratulations for your reports, they’re awesome and very storytelling!
One question, regarding this scenario:
The allied player must setup units on objective chits A-M, but this means that only those two chits are allowed or from chits A to chits M?
Thanks!
LikeLiked by 1 person
Hi,
thank you for kind words! Glad you like it!
If I remember correctly, this is from Chit A to Cit M, with all in the middle.
LikeLike