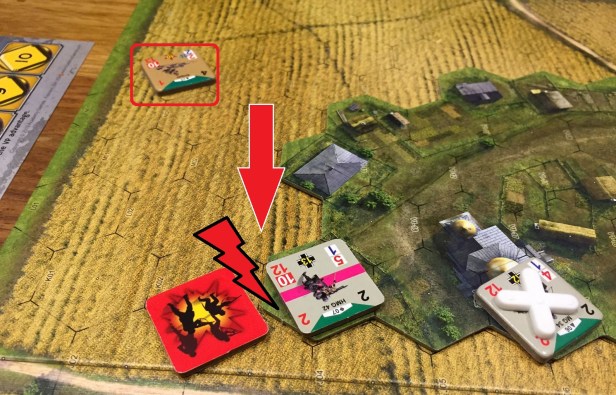
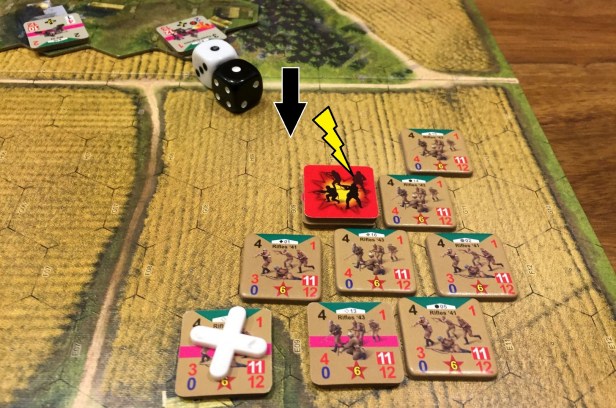
We continue familiarizing with Conflict of Heroes – Storms of Steel game by playing already 3rd scenario from the Mission Book. Previous two – #1 The Courier’s Satchel and #2 Twilight’s Last Gleam – taught us the basics of the game. We also get to know the spent unit mechanics and CAP – which we find a very interesting method to implement uncertainty in the game.
Our CoH: Storms of Steel campaign:
#1 The Courier’s Satchel
#2 Twilight’s Last Gleam
#3 Wind or Sniper?
#4 Sovkhoz 158
#7 Wounded Tiger
Today’s skirmish – #3 Wind or Sniper? – brings rules about group movement, invisible units, snipers and engineers. Sounds like a fun – and definitely it was. Even more suspense, bluffing and possibility to surprise the enemy.
Historical background (based on Mission Book)
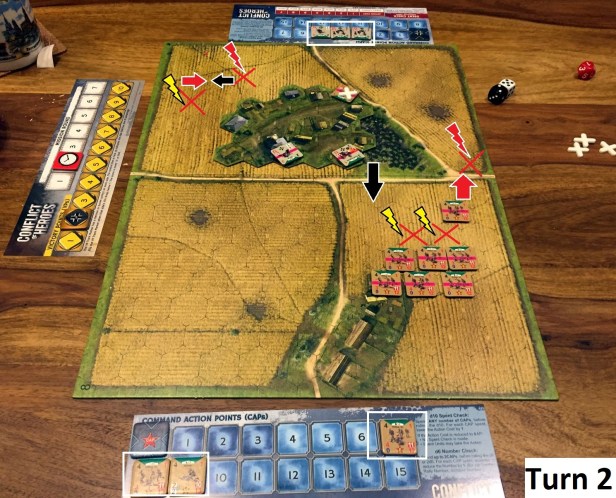
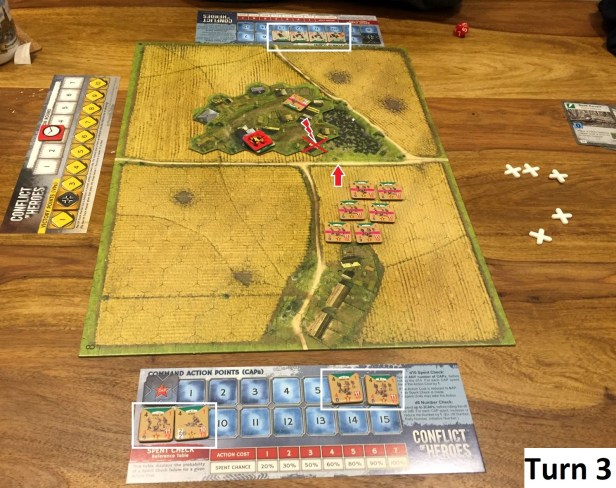
The Kursk battle has started – it is July 1943 and enormous Nazi and Soviet forces struggle for victory. The Panzer Grenadier Division ‘Gross-Deutschland’ has fought its way to the edge of the village of Cherkasskoye (visible below on the map). German engineers moved forward to clear a path through the Soviet minefield. At the same time, at the edge of the village, elements of the Soviet 67th Guards Rifle Division – who must hold on until their battle force arrives – counter-attack. The Mission begins with Soviet snipers and German machine gunners picking off anything that moves! Enjoy below photo-session report!
Session report


That was much more one-sided game then our previous two scenarios. The losses on both sides were almost equal which was disastrous for the Germans. Red Army snipers – well placed and firing with proper cards enhancement – managed to inflict crucial losses on best Wehrmacht units – MG42. The luck also played a role as USSR units usually were able to hit without problem, while Germans had problem to nail down the target in the even most obvious circumstances.
More session reports will come – thank you!


Love me Conflict of Heroes. Not only is it a far better looking game than ASL but so much easier to play yet still evokes a narrative that feels ‘right.’
LikeLiked by 1 person
Fully agree, and gradual growth of rules complexity allows for easy entry into thesystem.
LikeLiked by 1 person
Nice report! We played this mission last weekend twice (switching sides the second time). Both times the Germans got completely slaughtered. Our tactic was to rush the soviets into close combat with the machine guns since they get massively penalized. It was brutal.
LikeLiked by 1 person
Yes, the scenario seems tough for Germans!
LikeLike