Dear Boardgamers, welcome to my series of the articles focused on the greatest Byzantine general – Belisarius and the battles he fought in sixth Century AD in the name of Roman Empire – beautifully depicted by the Commands Colors Medieval game. The episodes were grouped in the so called Belisarius Campaign and it is already fifth installment in the series. We already covered skirmishes at Thannuris (528 AD) & Melebasa (528 AD) as well as sieges of Dara (530 AD) and Stala (530 AD). Now is the time for a two-scenario battle – Callinicum.
So Sassanids had lost at Dara and Satala in 530 AD but that definitely did not end the so-called Iberian War – a conflict raging between the Byzantine and the Sassanid Empires from 526 AD to 532 AD over the eastern Georgian kingdom of Iberia. Spring of 531 AD saw another Sassanids army invading Roman Mesopotamia.
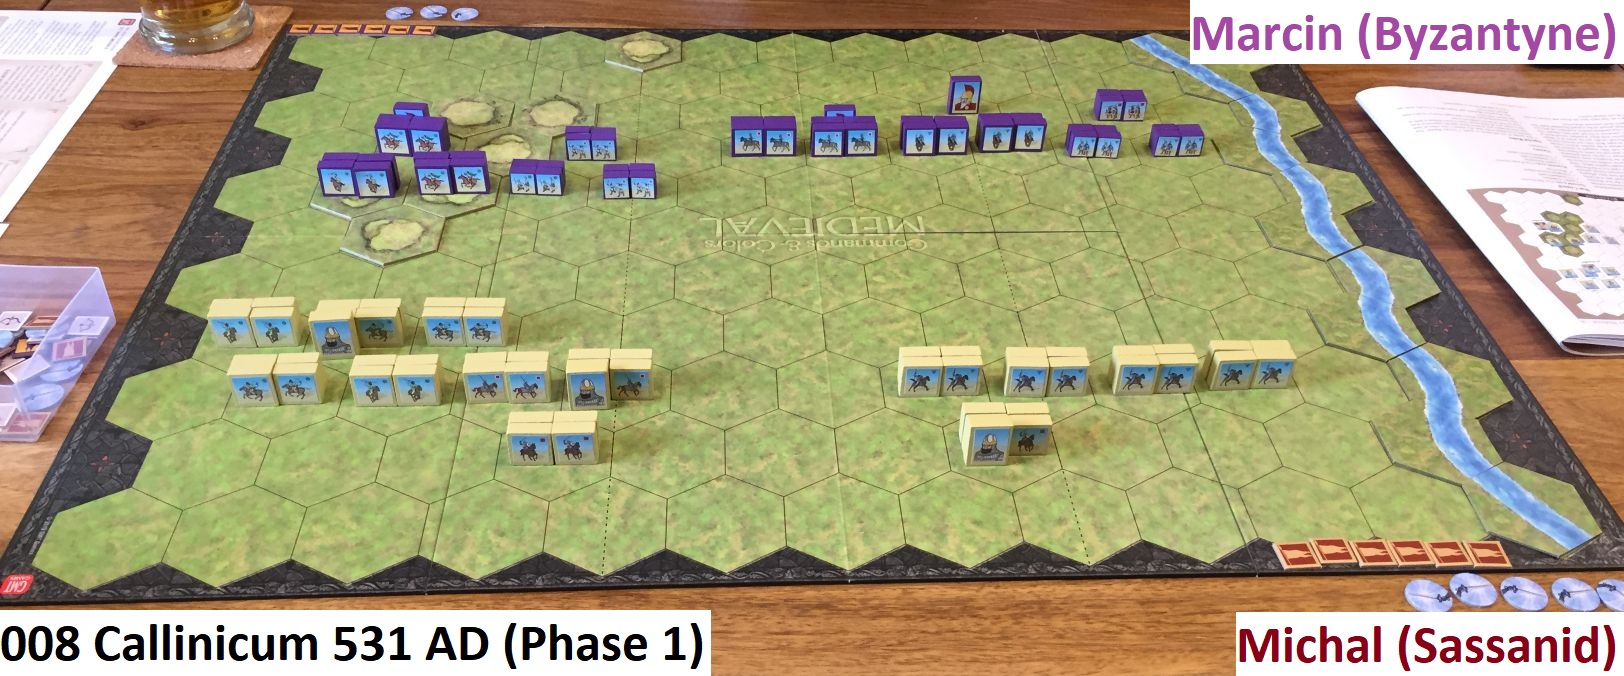
Belisarius was caught unawares by the quick and rapid invasion and had to quickly scramble all the forces he could muster. He outmaneuvered the Persian army and wished they just simply retreat but was forced by his subordinates – and threat of mutiny – to deploy for battle. The first scenario in the book shows initial skirmish, extensive missile fire exchange and the Sassanid charging and getting great tactical position on nearby hills. Let us see how it played-out on the table!
GAME 1
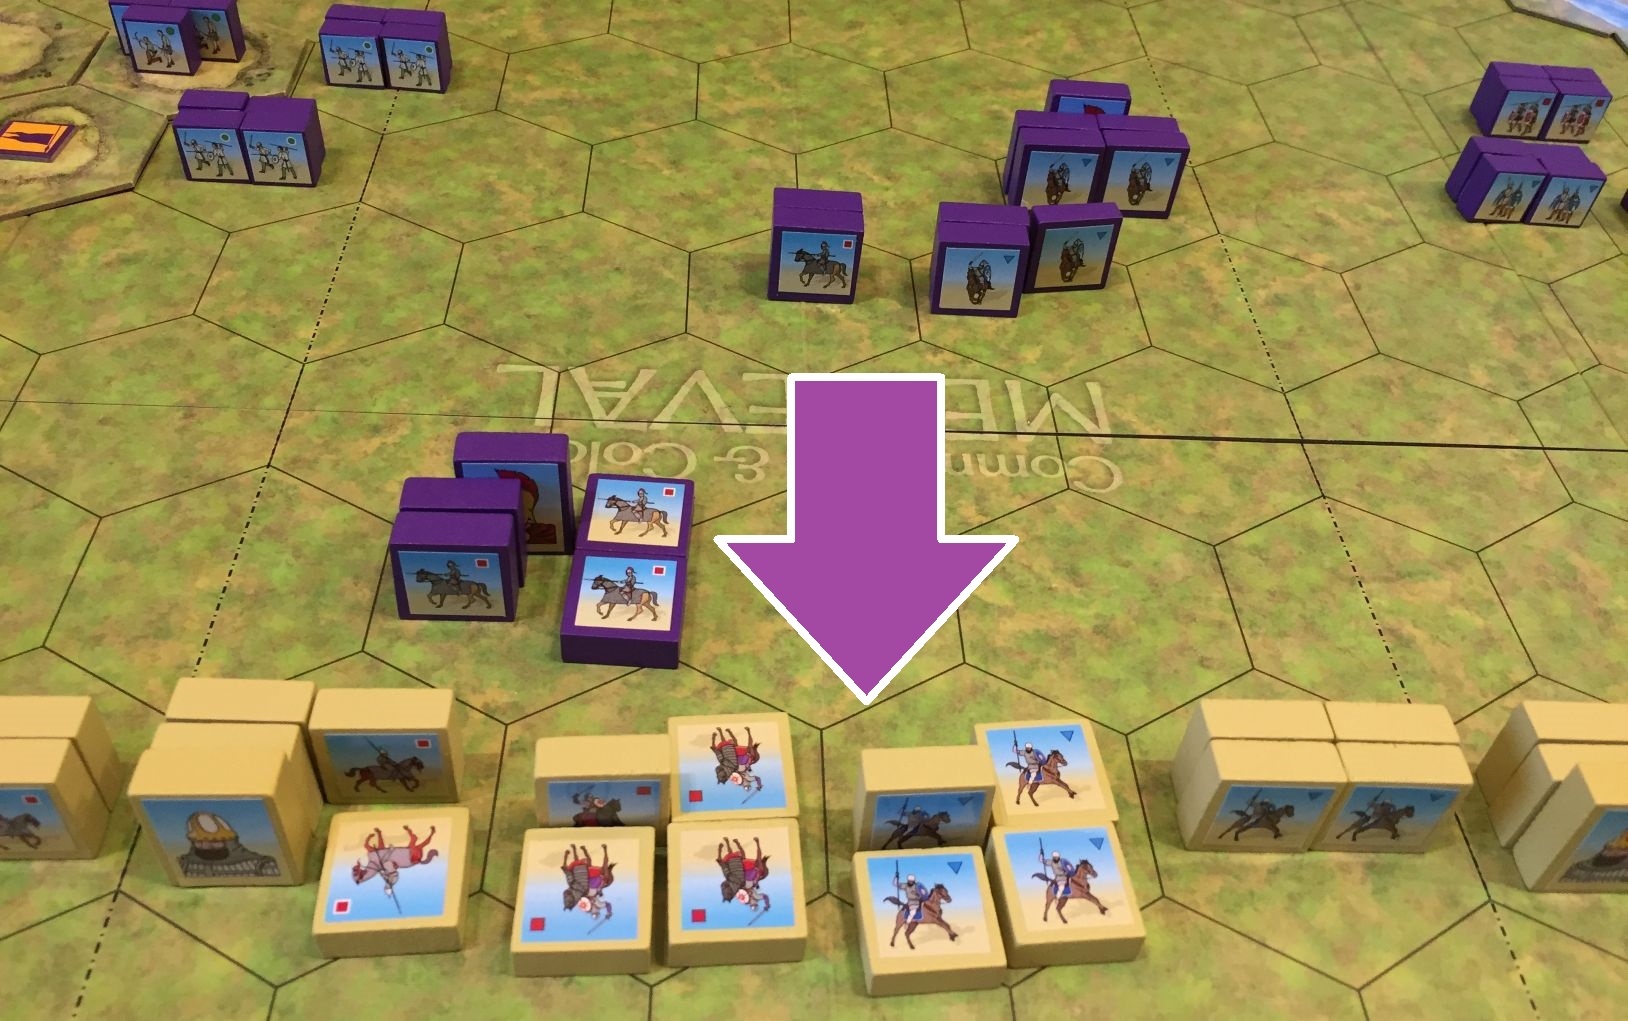
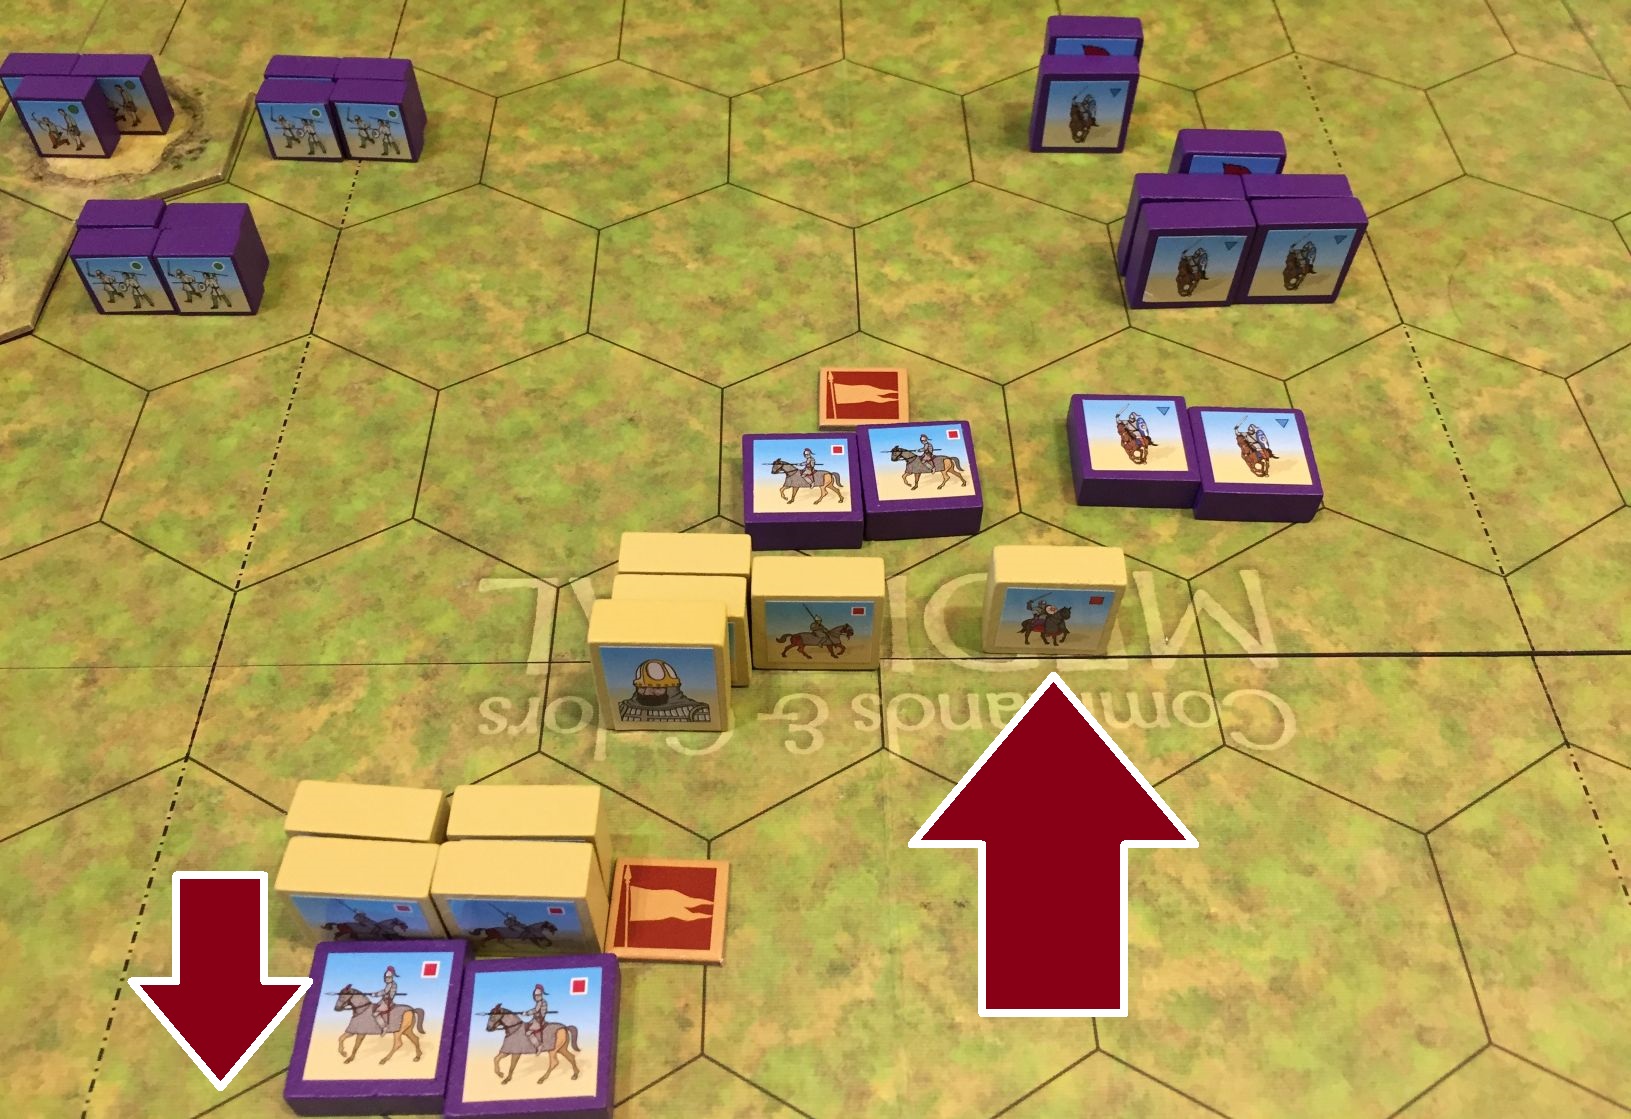
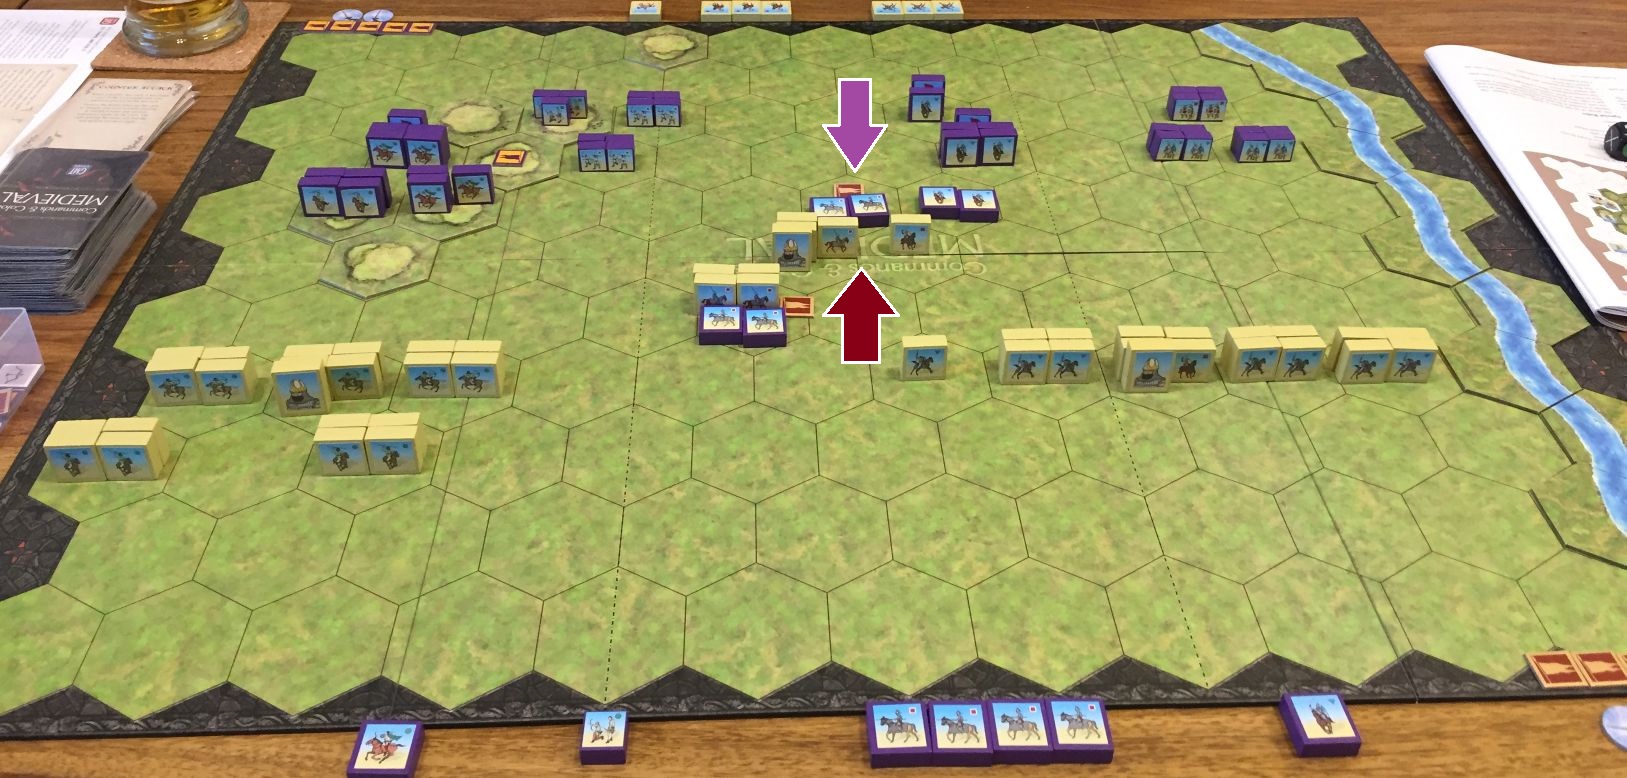
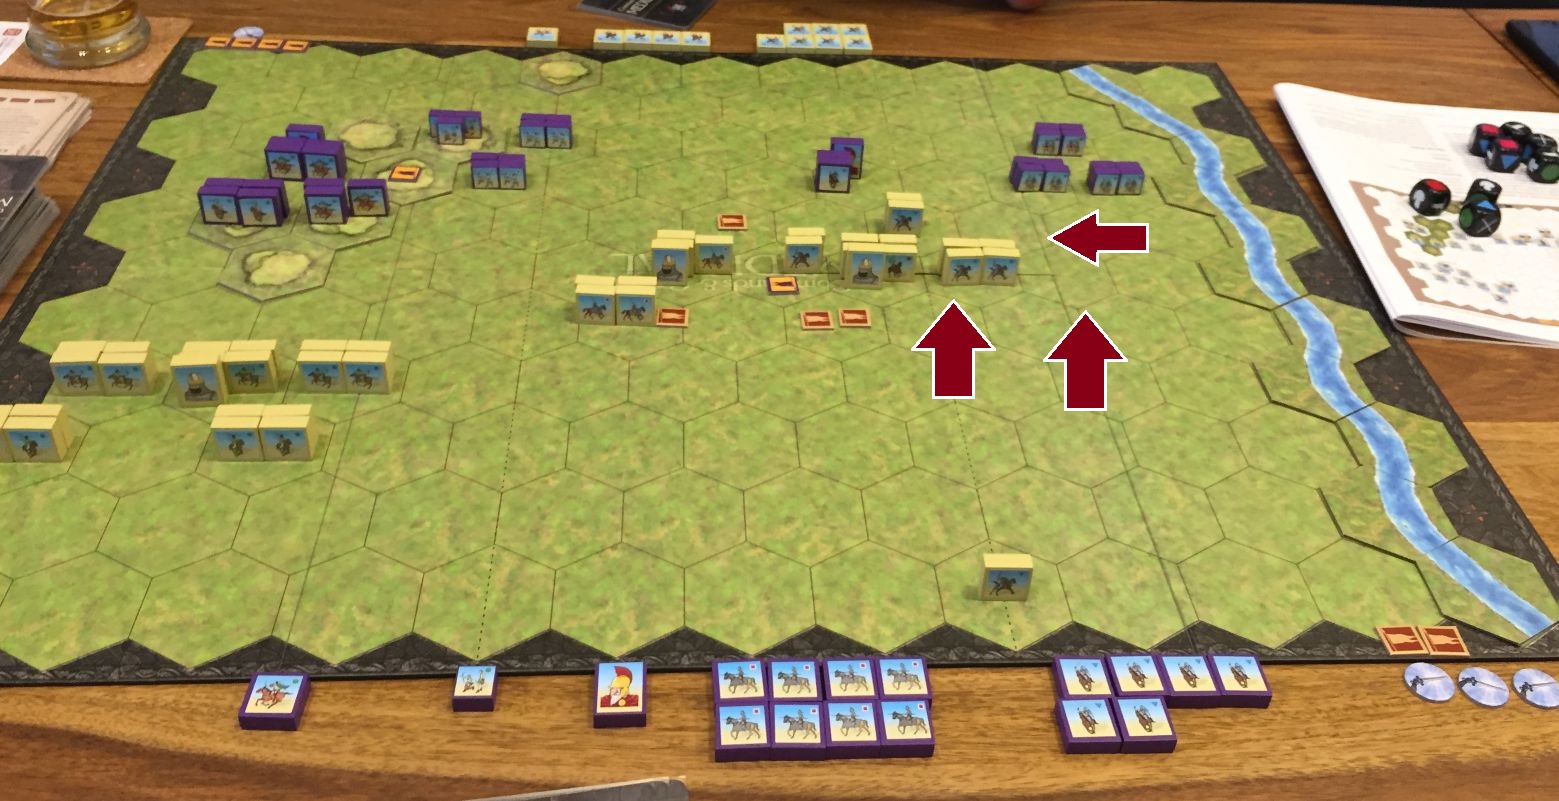
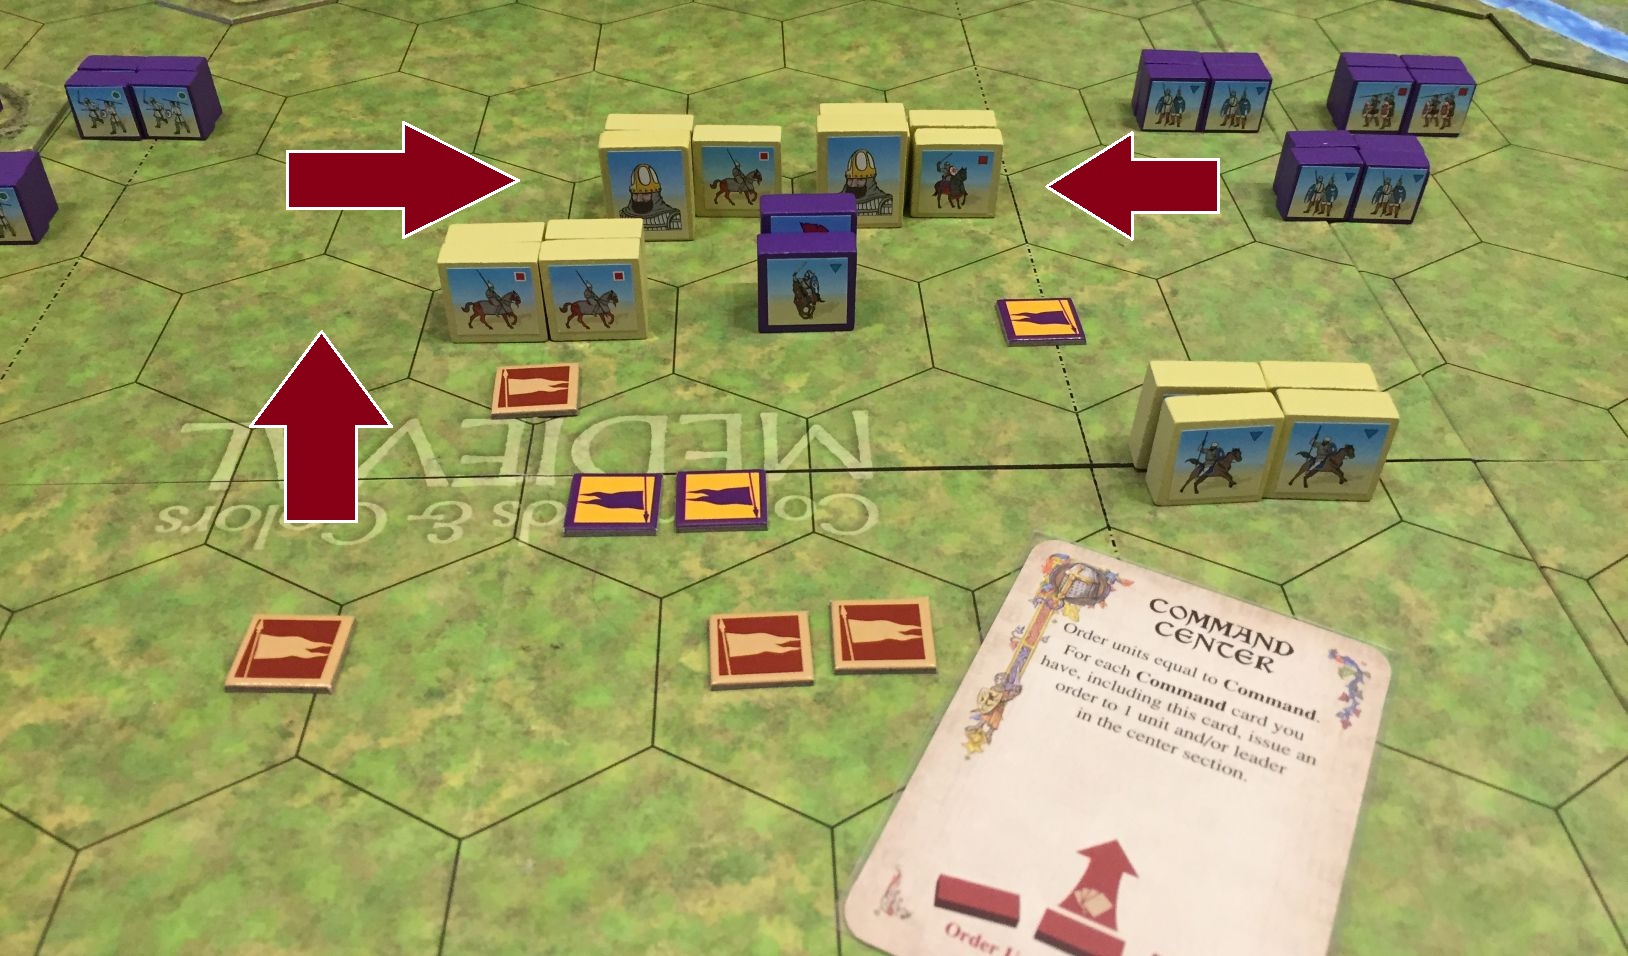
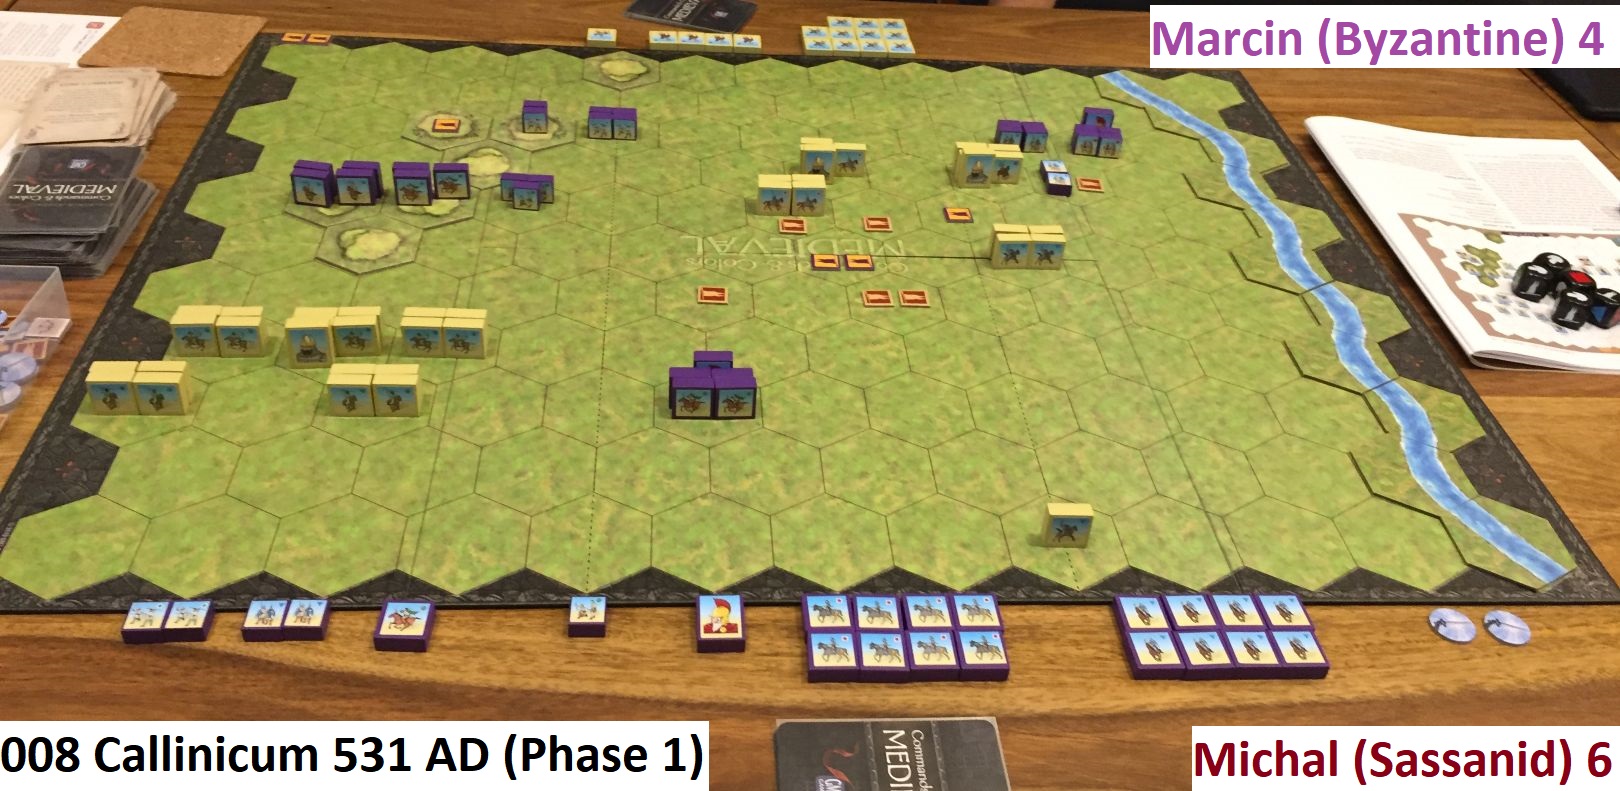
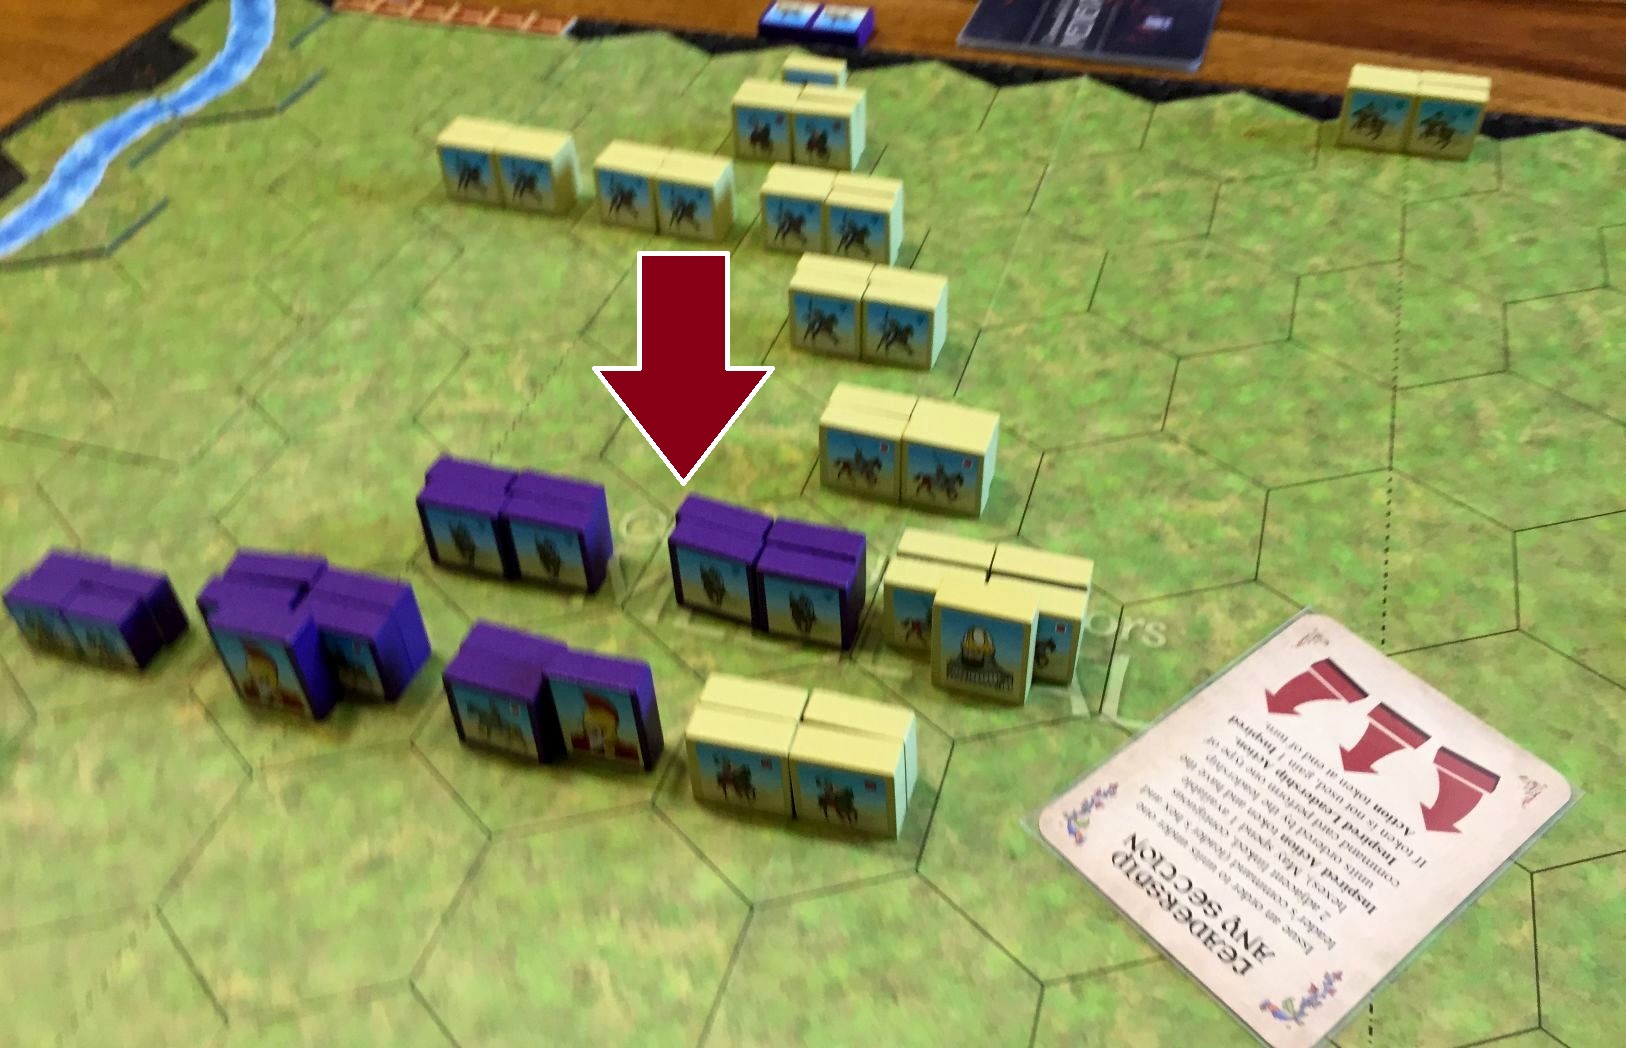
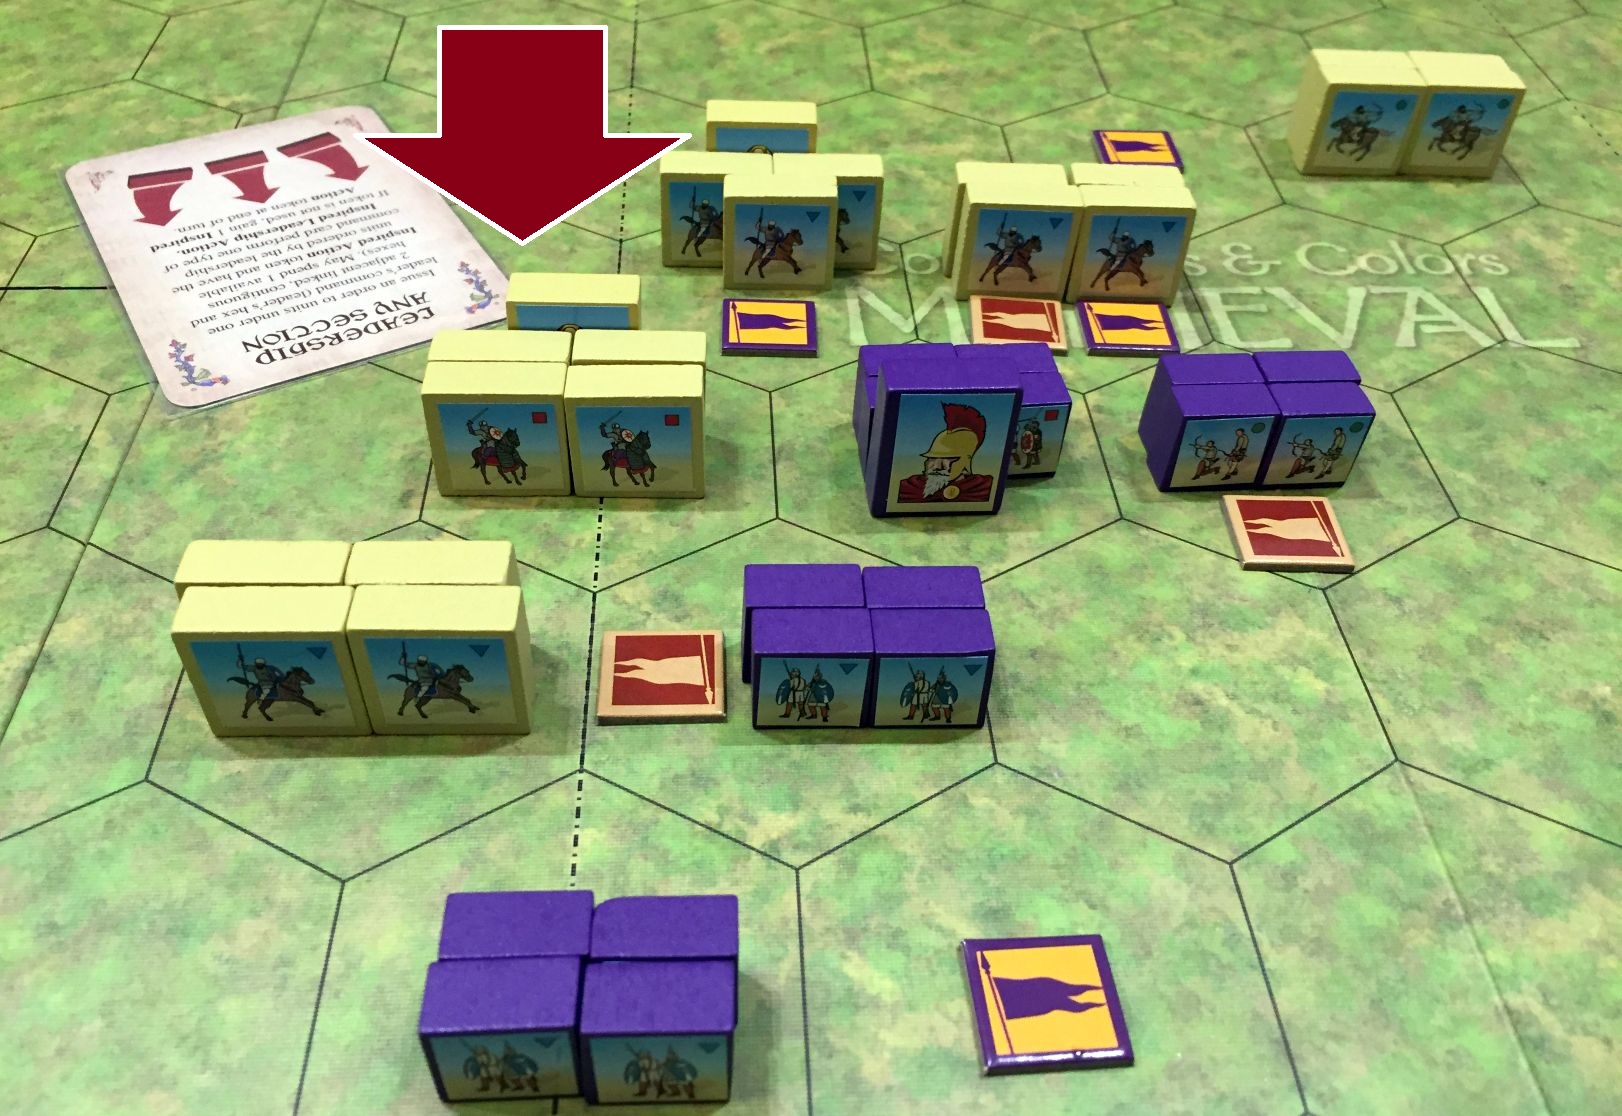
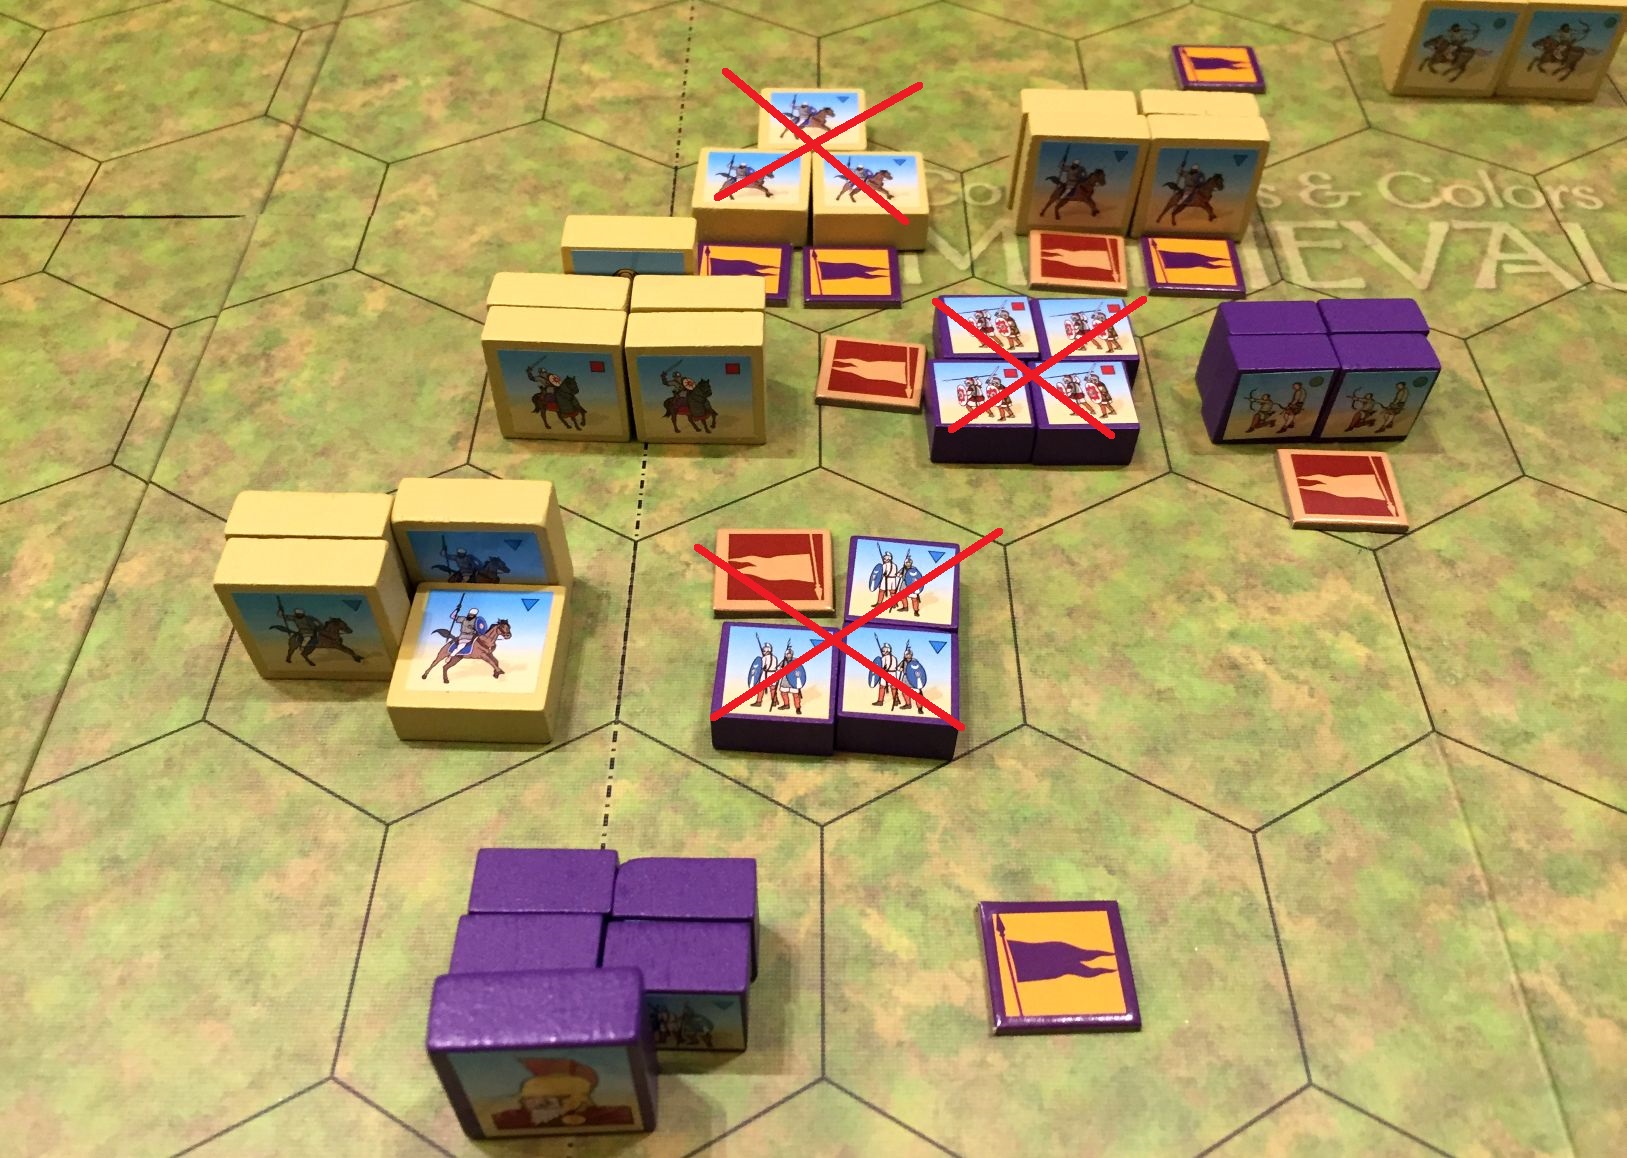
The initial deployment of the forces – Romans still occupying the hills on their right wing (click on the picture to enlarge in the new window)Let the game begin! After some maneuvering and range fire – much less then historically – Romans having nothing to loos charged the exposed Sassanid center (click on the picture to enlarge in the new window)Of course, the Persians responded in similar way and the center of the board was engulfed in mutual carnage and destruction (click on the picture to enlarge in the new window)Quick look at the strategic situation mid-game, Both sides still preserved enough forces to continue the fight (click on the picture to enlarge in the new window)Couple of next turns saw systematic Sassanid advance on their right wing, gaining more and more advantage over Byzantines (click on the picture to enlarge in the new window)And then it happened – another Mounted Charge, with 4 units activated, leader escape roll unsuccessful and the game going to Persians (click on the picture to enlarge in the new window)Final dispositions – my Persians won 6-4 (click on the picture to enlarge in the new window)
GAME 2
So we switched the sides and sit down to immediate counter-mach. Let us see how it went! (click on the picture to enlarge in the new window)Not surprisingly, more numerous and well equipped Sassanids advanced in the center only to smash and charge headlong (click on the picture to enlarge in the new window) (I am sorry for picture quality)Oh how surprised the Persians were when they faced successful Roman Ambush! In the end the charge finished in a draw, seeing both sides severely weakened (click on the picture to enlarge in the new window)“Not all is lost!” yelled Belisarius when he played Rally to recover most of his depleted forces. He was very successful in the process and brought the whole infantry to its maximum strength! (click on the picture to enlarge in the new window)“All in vain” thought after a while Belisarius when he saw charging enemy cavalry, hitting the infantry lines and smashing the poor Roman soldiers (click on the picture to enlarge in the new window)But the great general would not be himself if he had not have something prepared for the Persians. Four Swords rolled on the battle back completely obliterated enemy cavalry! (click on the picture to enlarge in the new window)Still, the charge had a devastating effect on the Romans and their morale. See above… (click on the picture to enlarge in the new window)“A coup de grace” thought great general when he observed again the Mounted Charge action on Sassanid side 🙂 And so it was… (click on the picture to enlarge in the new window)Final dispositions – my Byzantine shown a decent amount of fighting spirit but still lost (click on the picture to enlarge in the new window)
Summary
That is really a great scenario. Balanced, with a lot of maneuvers plus heavy units on both sides. The hills were not so crucial as historically – they rather gave stable base to the Romans, which Persians were not able to crush. But they are key in the long term – which will be visible in the second part of Callinicum! Hope to see you in this session report soon!


Hi, interesting read, but maybe you should mention the name of the game 😉
LikeLiked by 1 person
True! It somehow escaped me!
LikeLike