
Playing the Commands & Colors games with a consecutive, chronologically or geographically connected set of scenarios is what I love! And this is exactly what I am doing with Samurai Battles – latest installment in the series. Today I will have a very interesting battle – Anegawa 1570 AD – which features 3 set-ups:
- main battle overview
- right wing
- left wing
It is really great to play an overview version, and then zoom on some aspects of this clash. Enjoy the picture-rich session report plus historical background!
Other Samurai Battles Session reports:
- Arita Castle 1517 AD - 2 scenarios
- Okehazama 1560 AD - 2 scenarios
- Koriyama Castle 1540 AD - 4 scenarios
- Azukizaka 1542 & 1548 AD - 2 scenarios
- Fourth Kawanakajima 1561 AD (Phase 1&2)
- Fourth Kawanakajima 1561 AD (Phase 3,4&5)
- Sekigahara 1600 AD
The Game
Let me as always, just before report, add some more information about the game for those who have not heard about it (I hope there are not too many players like this anymore!) On top of this, above you can find one of my how-to-play videos which clearly presents the flow of the game.
The Commands & Colors: Samurai Battles game allow players to portray important engagements of Japanese history mainly from the XVI century, before Tokugawa Shogunate. The scale of the game is flexible and varies from battle to battle. For some scenarios, an infantry unit may represent an entire clan of soldiers, while in other scenarios a unit may represent just a few brave warriors. The game follows the well-proven mechanics of Commands (cards driving the moves and creating Fog of War) and Colors (the units designation, having huge impact on battle results). The dices allows us to quickly resolve all battles and the components in the box allow for creation of countless scenarios. In essence, Richard Borg at his best!
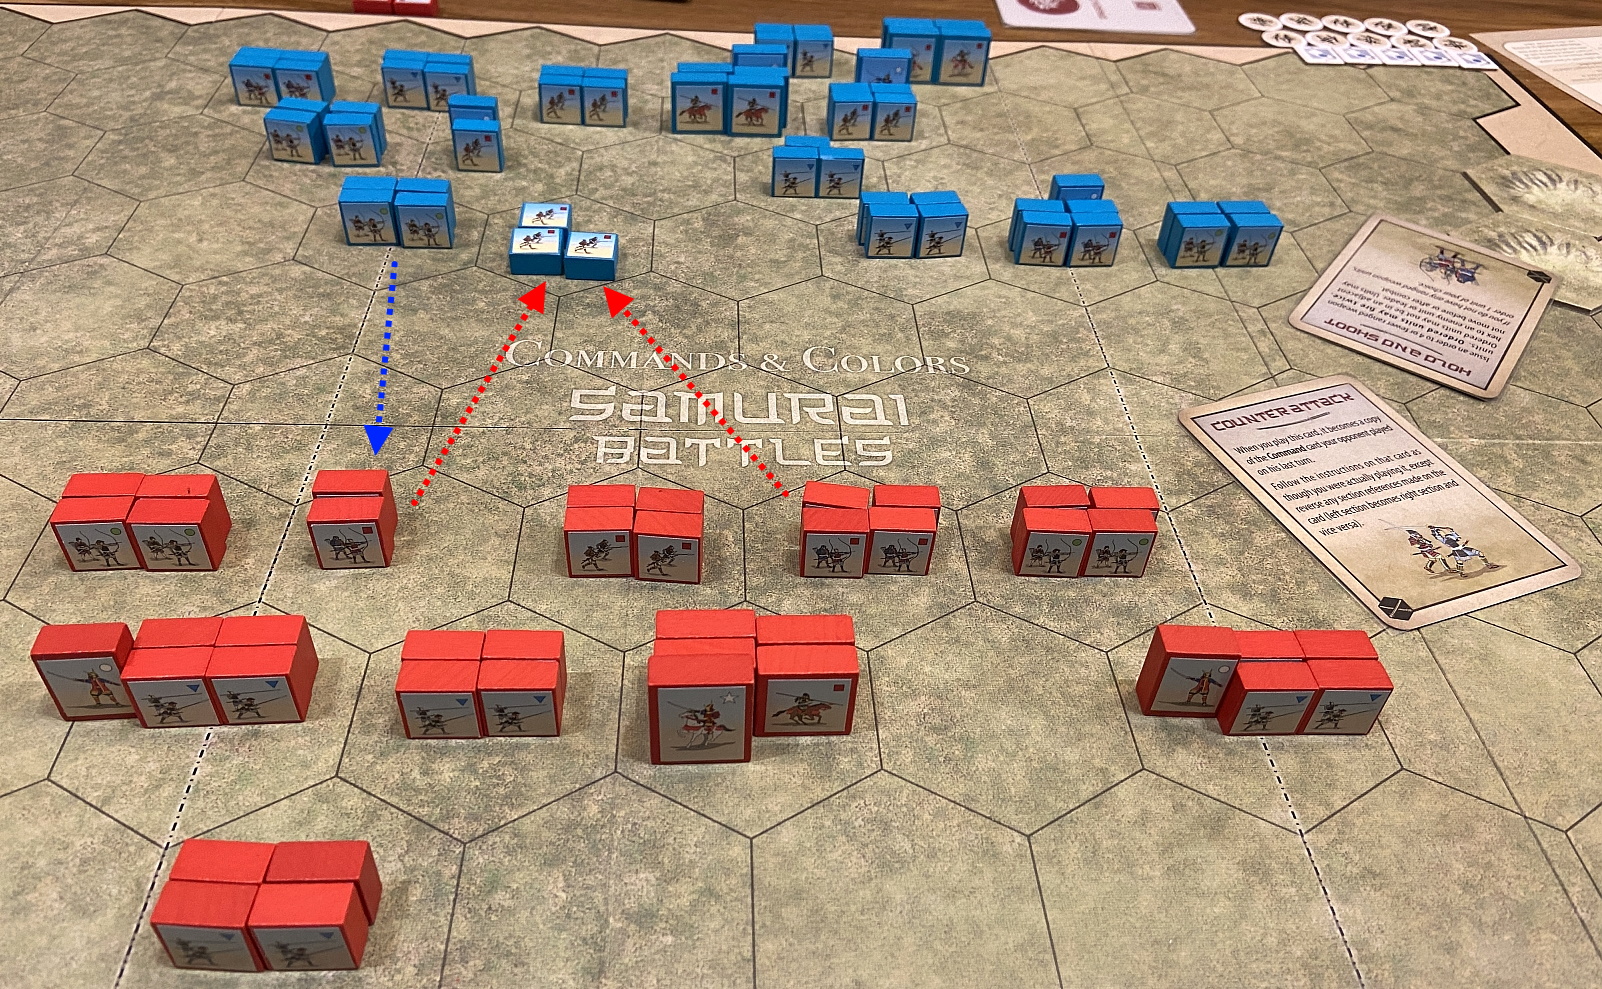
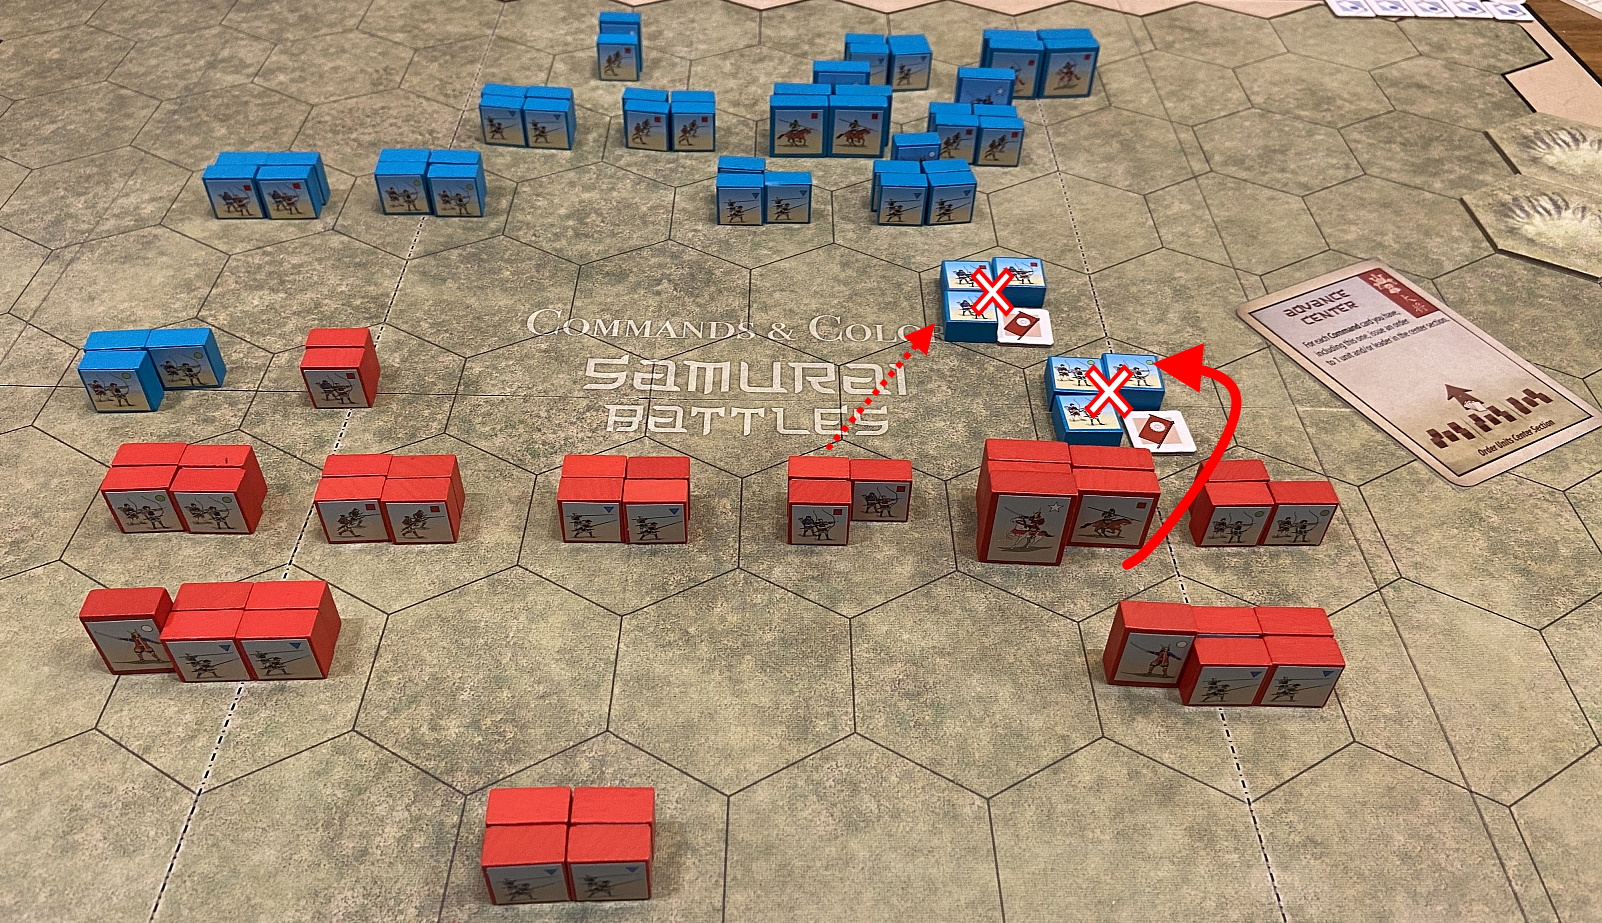
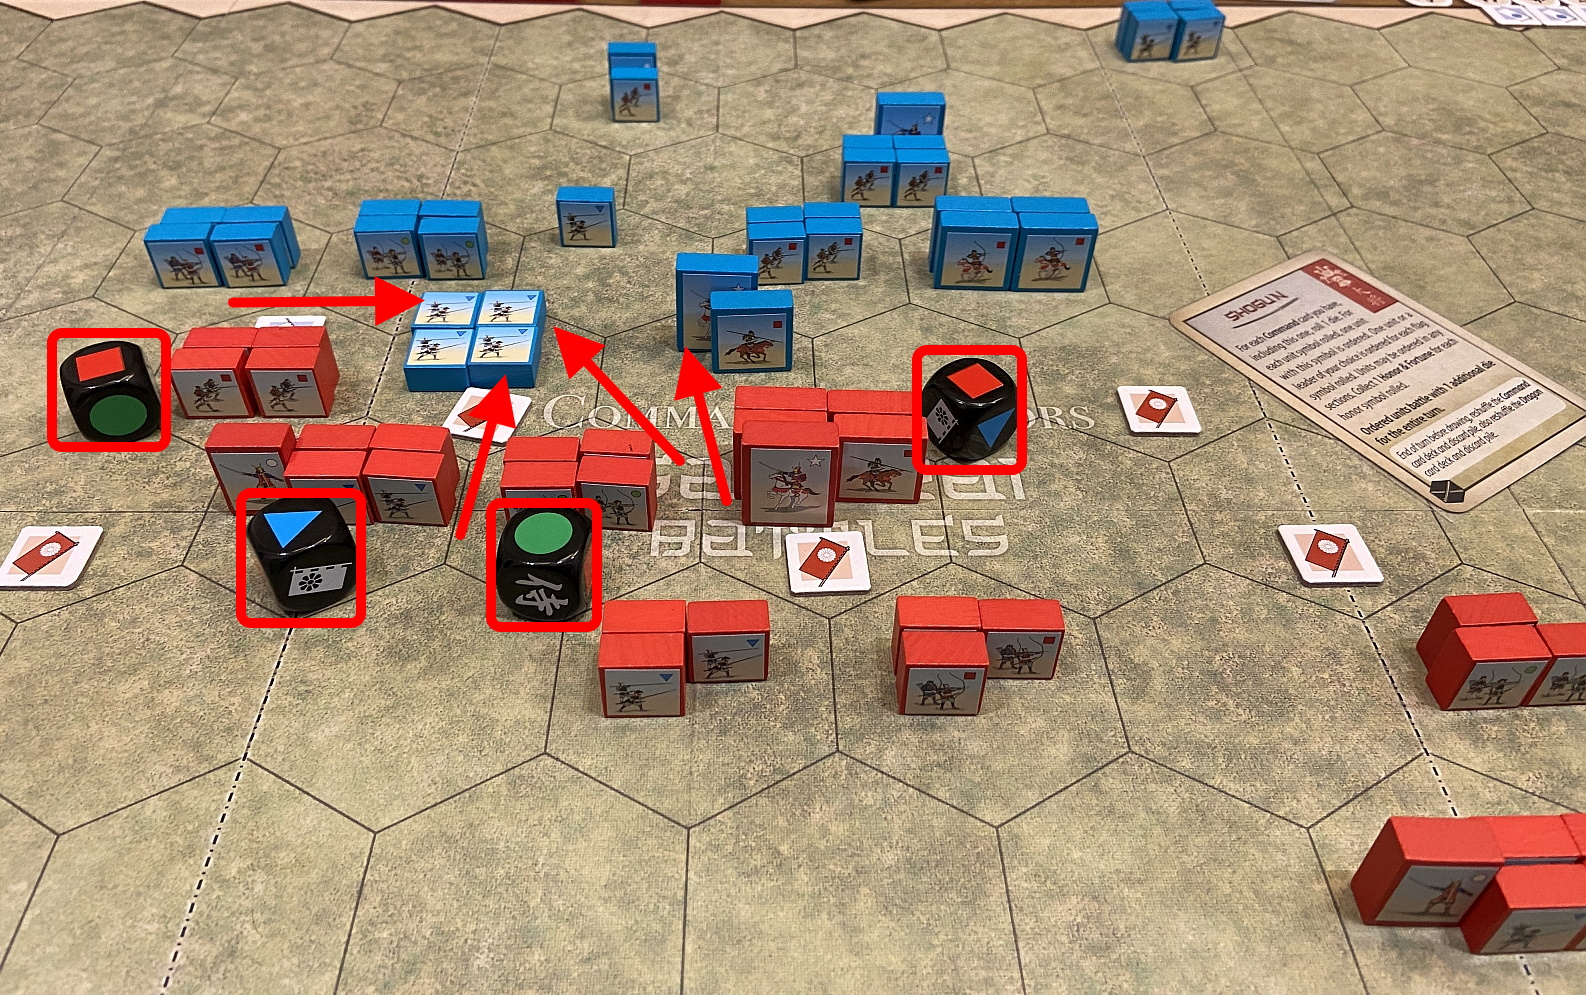
1. Anegawa 1570 AD (Battle Overview)
Historical Background
In 1568 Oda Nobunaga’s army had control of Kyoto, but when the Asai joined Asakura, together they effectively cut off Oda’s army from it’s home base. With some sly maneuvering however, Oda managed to return home and after reinforcing his army, headed back. He was laying siege to Yokoyama south of the Ane River when the Asai and Asakura forces arrived to the north. Both sides deployed for battle with Oda facing Asai and Tokougawa against Asakura. The two almost separate battles were fought across and in the Ane River. Although there was a disparity in numbers, the Asai were holding their own until the Asakura were finally forced to retreat.
Session Report
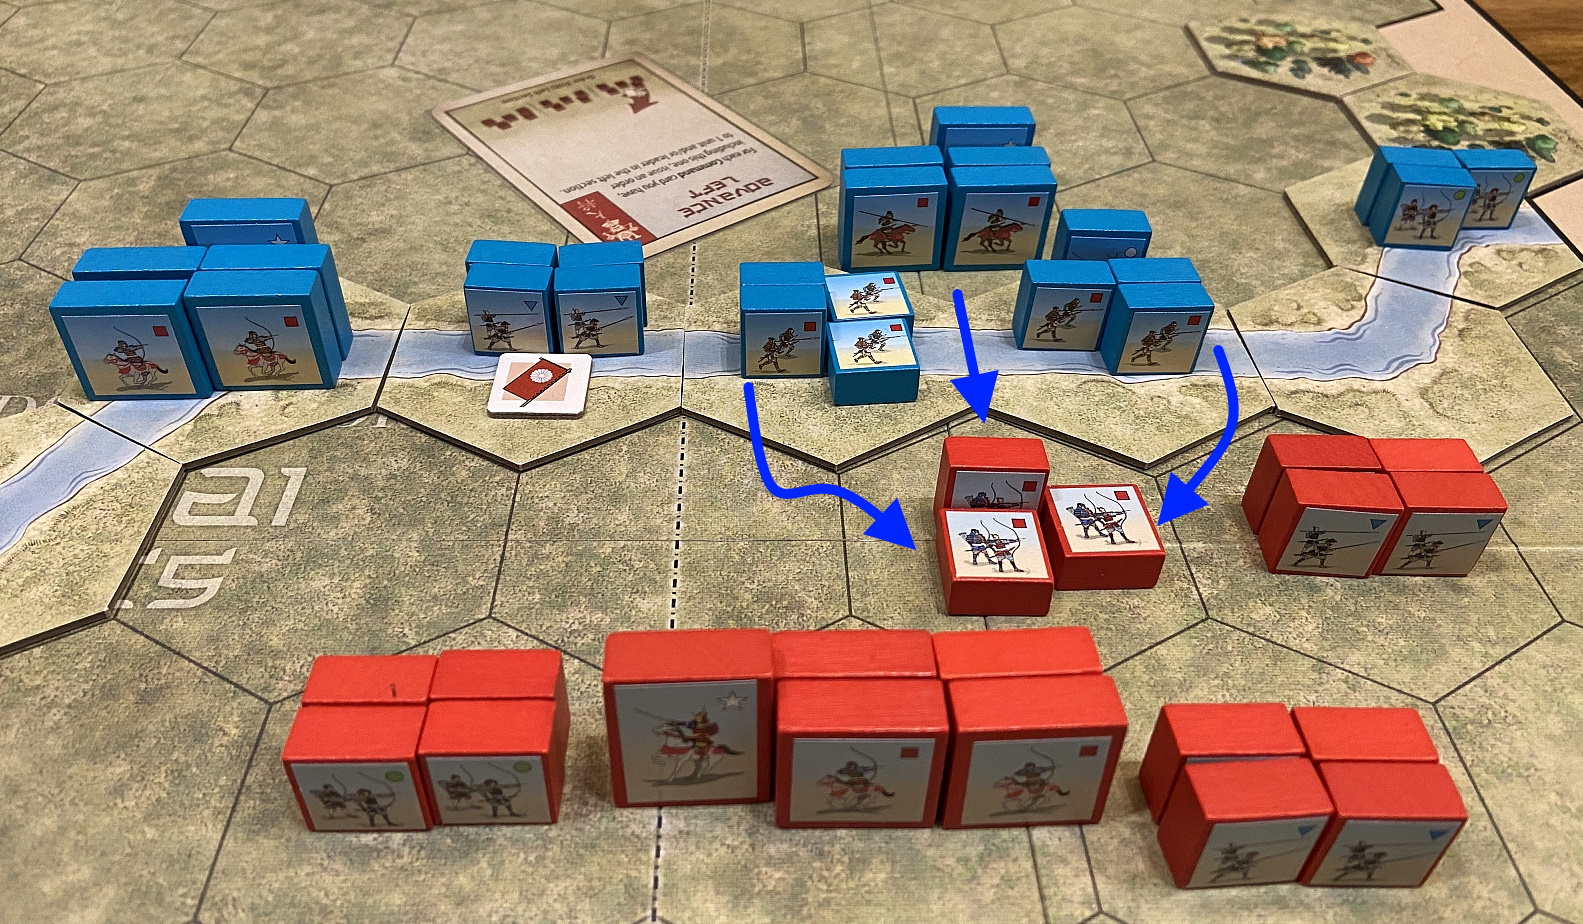
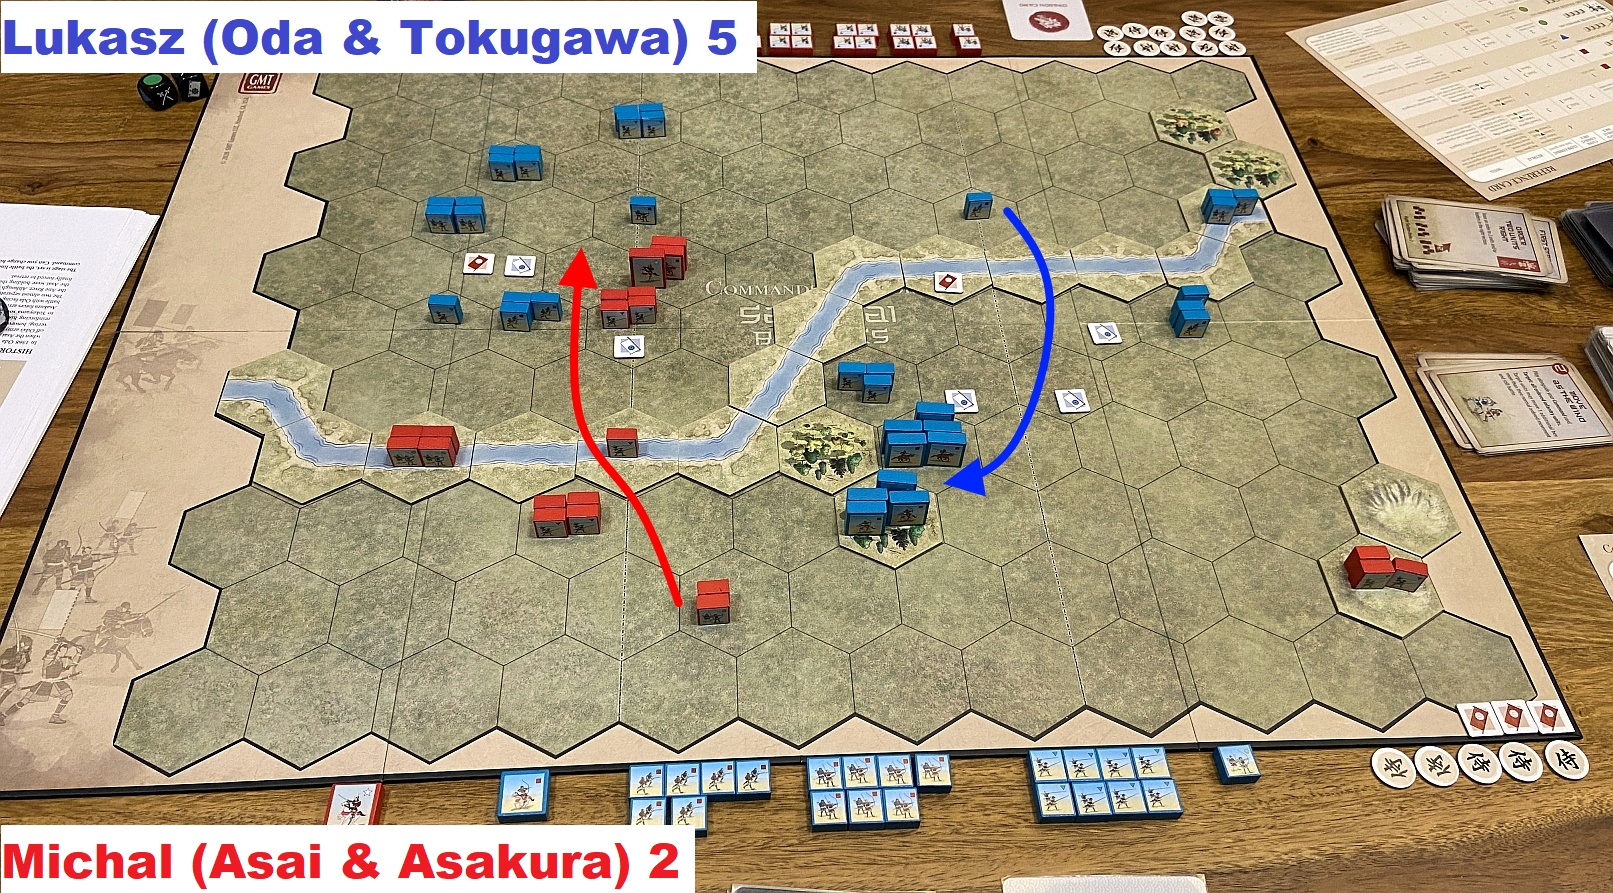
Again, as always, we rolled for sides in campaign – so one player will lead the same side through all scenarios. Lukasz took Oda & Tokugawa duet (blue blocks) while I led Asai & Asakura side (red block). I decided to do whatever possible to make sure that performance of my forces will be better than historically. And it went pretty interestingly… more below!


2. Anegawa 1570 AD (Tokugawa against Asakura)
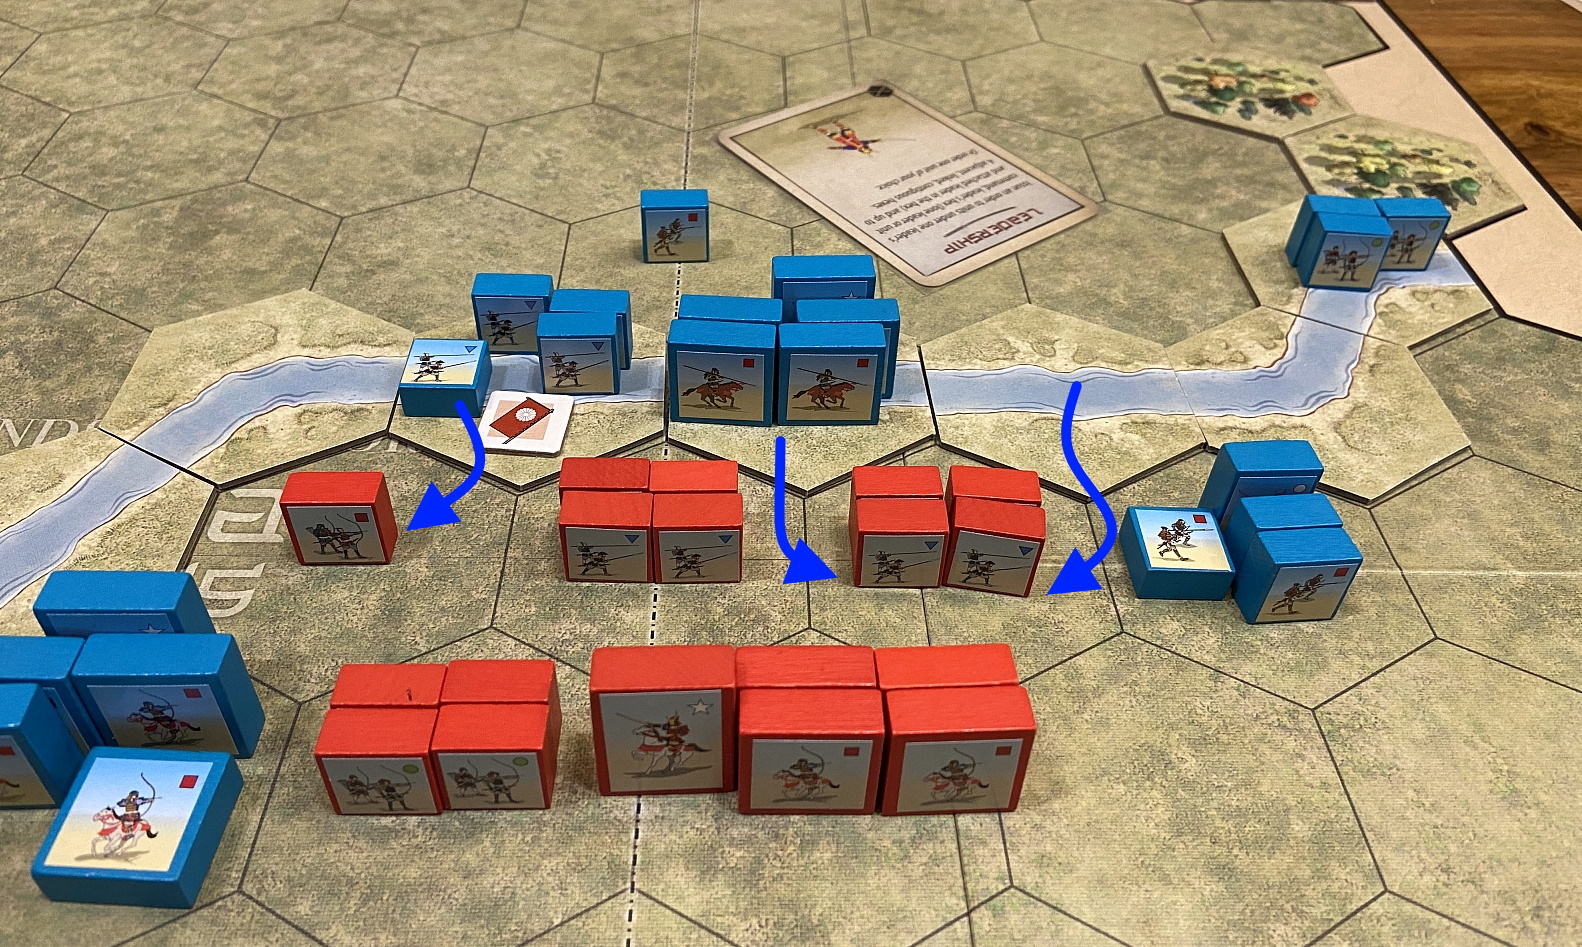
Historical Background
As both sides deployed for battle with Oda facing Asai and Tokugawa against Asakura, the one engagement actually became two separate battles. Tokugawa Ieyasu personally led his troops against the Asakura and gained the initiative when he ordered Honda Tadakatsu to flank the enemy troops. Only the heroism of an asakura samurai named Makara Jurozaemon, who stood in the river and challenged any of the enemy to personal combat prevented a rout. Jurozaemon’s challenge was accepted by a number of the Tokugawa samurai and although Jurozaemon was eventually defeated, his bravery allowed the Asakura to withdraw in good order.
Session Report


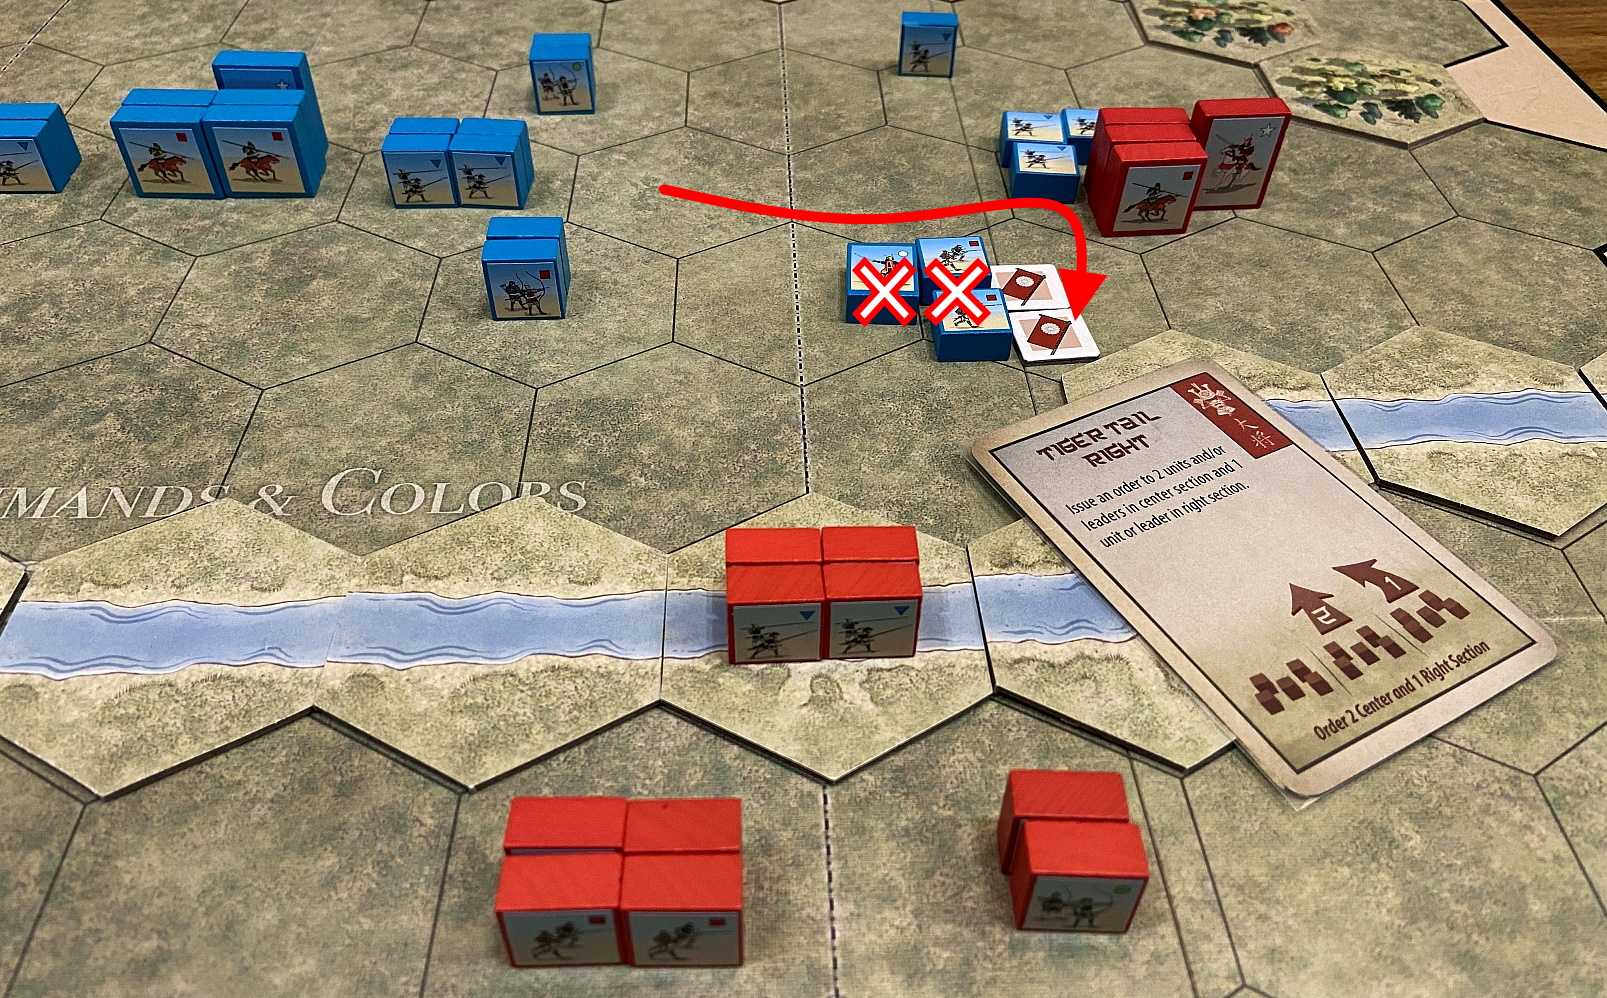

3. Anegawa 1570 AD (Oda against Asai)
Historical Background
As both sides deployed for battle with Oda facing Asai and Tokugawa against Asakura, the one engagement actually became two separate battles. On the Oda right flank, the Asai were having the better of Nobunaga’s troops. One Asai samurai named Endo Kizaemon had resolved to take Nobunaga’s head and came close to penetrating as far as the Oda headquarters, where a vulnerable Nobunaga had chosen to enter the battle unarmored.
Seeing the Oda plight, Tokugawa Ieyasu, who had crossed the Ane River after defeating the Asakura, drove into the Asai’s right flank. The Oda reserve, led by Inaba Ittetsu, simultaneously struck the Asai left flank and even the Oda detachment at Yokoyama Castle left the siege to join the battle. The Asai were defeated and driven from the field.
Session Report


Summary
Interestingly, our overview scenario finished quite historically while two small, “zoom-in” scenarios were a complete opposition of the first one. History repeated on large scale, but not in details 🙂
Banner count was as follows:
- Lukasz (Tokugawa) 7 – Michal (Ishida) 11
More reports approaching – stay tuned!
