

A few weeks ago I had the pleasure of playing Battlefields of the Napoleonic Wars with Janek – two full battles, back to back. The game is designed by Paolo Mori and Alessandro Zucchini and published by Ingenioso Hidalgo. I knew Mori mainly from light and clever titles like Caesar!: Seize Rome in 20 Minutes! or Blitzkrieg!: World War Two in 20 Minutes!, so I was very curious what he would do with a proper Napoleonic wargame.
I was very positively surprised. As always we will follow the proven track: first the game overview, then the two session reports – each opening with a bit of historical background – and finally my thoughts. Enjoy the read!
Game Overview
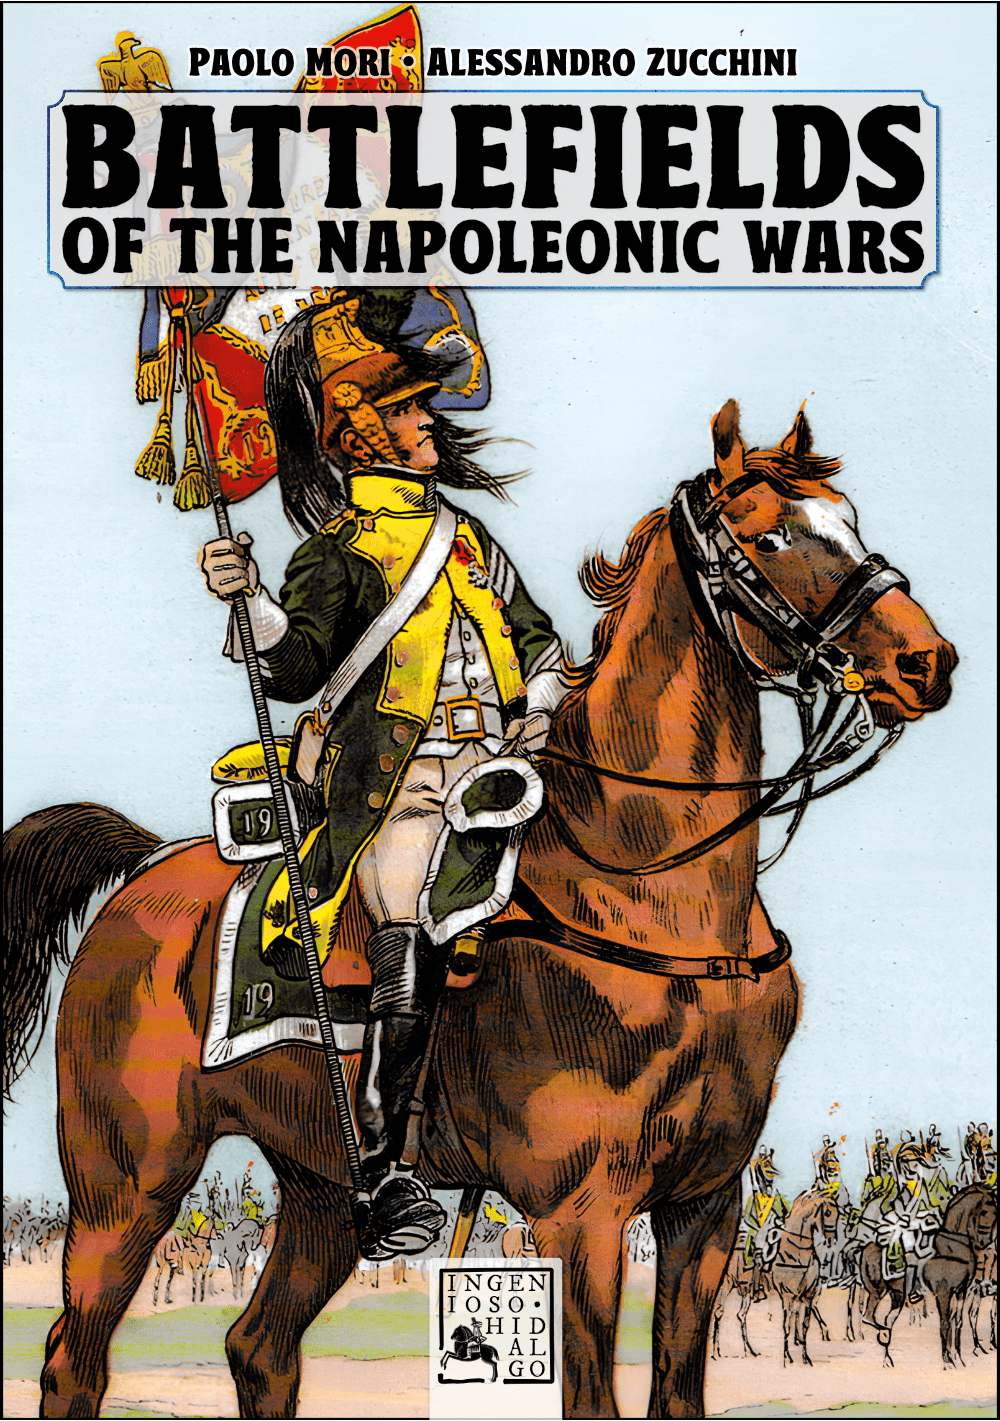
Battlefields of the Napoleonic Wars is a two player hex and counter system, with a solo option, running somewhere between 60 and 120 minutes depending on the map. It was the first release of Ingenioso Hidalgo, the small label Paolo Mori created for projects that do not fit anywhere else, and it appeared in a numbered print run of only 500 copies that sold out in late 2025. The box holds four battlefields: Hagelberg 1813 (small), La Coruna 1809 and Rivoli 1797 (medium) and Austerlitz 1805 (large).
The format is the first thing that stands out. Each map lives in its own Battlefield Folder. The front carries a short historical introduction to read aloud before you start, the back carries the setup illustration, and the inside opens out into the Battle Board for that specific battle: command values, number of leaders, who has initiative, the special rules, the terrain rules that actually apply on this map, the row of Order spaces and the Victory track. Everything you need for a given scenario is on one piece of cardboard, and there is a QR code in the corner pointing to the errata and variants.
Mechanically, every unit is two counters sitting in the same space, and the way you arrange them is the formation – Column, Line or Square. Counters are double sided: two icons means two points of strength, flip for one. The color of the icons tells you quality, from gold elite through silver veteran down to white regular.
On your turn you either place an Order token on one of the Order spaces – Infantry Lines, Infantry Columns, Cavalry, Artillery, Leader Action, Maneuver – and then activate as many eligible units as you have Activation markers, or you Rally, which recovers all your Order tokens, reforms your Broken units and redeploys your Disordered ones, but hands your opponent a victory point.
Combat runs on custom dice – orange for Fire, grey for Assault – where each face carries a condition and an effect, so you read the result immediately without any tables. You can also throw in the black Hazard die, which gives you an extra chance at a hit but may turn round and disorder or damage your own unit.
Victory points come from destroyed units, killed Leaders, captured Objective markers and enemy Rallies. The clever part is how the battle ends: three Rout markers are shuffled face down onto the Victory track, and when your marker reaches one you flip it to see whether the enemy army has actually broken. Nobody at the table knows when it stops.
One Battlefields Pack has already been released with three more maps – Saalfeld 1806, Quatre Bras 1815 and Aspern-Essling 1809 – a second pack is in preparation, and a reprint of the base game is planned.
Session Reports
As usual in my First Impressions I will share both what happened on the board and what I took away from it. We played Rivoli first and Hagelberg second, and swapped sides between the two. Both games came down to a single victory point, which already tells you something about how tight this system is.
Enjoy the reports! PS. Remember you can expand each picture on click.
Session 1. Rivoli, January 1797
Historical background
Rivoli was fought on 14 and 15 January 1797 in northern Italy and it is the battle that made Bonaparte’s reputation. Alvinczi was making a fourth attempt to break through and relieve the besieged garrison of Mantua, and he split his army into separate columns approaching the plateau from different directions. Bonaparte, working on interior lines with fewer men, dealt with them one after another before they could combine. Mantua surrendered the following month and the campaign in northern Italy was effectively decided. The game keeps that structure honestly: the Austrian columns – Lusignan, Quasdanovich, Vukasovic – arrive in a partly random order, while the French have to hold on until Massena and Rey come up.
Session report
Janek took the French, I took the Coalition – the Austrian columns coming down towards Mantua. This was our first contact with the system, so the opening turns were mostly about learning what an Order token actually buys you, and how limited three Activation markers feel when you have a dozen units that all want to do something.

The Rivoli Battle Board, photographed well into the game. Special rules on the left – Austrian Columns, Bonaparte and The Road to Mantua – terrain rules on the right, and in the middle the reinforcement cards: Massena and Rey for France, Lusignan, Quasdanovich and Vukasovic for Austria. Order tokens are sitting on Infantry Columns, Infantry Lines and Cavalry, Janek has already spent his Coup de Foudre, and at the bottom our two victory markers are running neck and neck.

Rivoli at the beginning. Everything is packed into the north-east corner of the map: my Austrians (red) along the eastern edge around Caprino, San Giovanni and Gamberon, Janek’s French (blue) formed up directly in front of them, and one lone French detachment far to the south at San Marco. The whole western half – Rivoli itself and Gazzoli – is completely empty, with objective markers simply waiting to be collected.

A closer look at the same opening position. You can see the road running west from Osteria straight into Rivoli – that road is the whole point of the battle. The Road to Mantua rule gives the French a victory point for every objective marker they hold in Rivoli each time I rally, so as the Austrian player I could not simply sit still and rebuild.
What followed was a long swing. Rather than grinding straight ahead into the French line I fed my arriving columns wide – one north through Cerdello, one all the way round to Gazzoli – while Janek fell back onto the village and anchored his artillery on the river. It worked, but it was slow, and every Rally I made handed him points under The Road to Mantua.

Deep into the battle and the map looks nothing like the setup. My Austrian columns have reached Gazzoli in the north-west and Cerdello in the north, each with a leader in support, while Janek has pulled the French back onto Rivoli with his guns lined up along the river. Compare this with the opening photo – the front has travelled right across the board.

The same phase seen from my side of the table. Rivoli is still French and Janek’s leader is standing in it, but my troops are now on three sides of the village and hold both Gazzoli and Cerdello. Look at how many counters on both sides are showing only a single icon by this point.
Summary: I won this one 12-11, which is about as close as it gets. What struck me most was the Order system. You never get to do everything you want, and choosing which Order space to occupy is really choosing what kind of battle you are fighting this turn. The second thing was the Rally decision: recovering your tokens is necessary but never free, and on this particular map it is actively expensive. Excellent first contact with the system.
Session 2. Hagelberg, August 1813
Historical background
Hagelberg, 27 August 1813, is a much smaller and much stranger affair. Girard’s French division was caught in Brandenburg by Prussian Landwehr under Hirschfeld, supported by Chernyshev’s Russian cavalry. Heavy rain soaked the powder on both sides until firearms were close to useless, and a large part of the fighting ended up being done with musket butts – the Germans still call it the Kolbenschlacht. Three special rules on the Battle Board carry all of that. Surprise Attack starts most of the French units Disordered. Damp Powder cuts every fire roll down to a single die. And the Landwehr rule means any better quality result a French unit rolls against Prussian infantry counts automatically, because the militia standing in front of them was newly raised and inexperienced.
Session report
We swapped sides for the second battle. I took the French, Janek took the Prussians and Russians. Hagelberg is the small map in the box and it plays fast, but it is also the most asymmetric of the four – and after Rivoli it felt like a completely different game.

The Hagelberg Battle Board, and a good illustration of how much these folders carry. Three special rules do all the historical work on the left, the terrain rules sit on the right, and Janek’s red Order tokens are on Infantry Lines, Cavalry and Leader Action. In the top right corner, Knotel’s painting of the Kolbenschlacht – the battle of musket butts.

The opening, and you can read the Surprise Attack rule straight off the board: my French (blue) are spread between Klein Glien and the Hagelberg hill, but the pairs are scattered rather than neatly formed, because almost the whole division starts Disordered. Janek’s Prussians and Russians (red) are coming in from the north-eastern woods and from the eastern edge near Lubnitz.
This is a genuinely uncomfortable position to start from. Every Rally I performed to get my units back into formation gave Janek a point, and Damp Powder meant I could not shoot my way out of trouble either. The whole battle turns into a series of assaults around one hill, exactly as it should.

Recovery in progress. My French have reformed into proper columns and lines and I have pushed a leader onto the Hagelberg hill itself – but Janek’s leader is already one space away on the eastern side, with his infantry coming round to the south. The village and the hill are the whole map here, and neither of us was going to give them up.

Attrition. Count the counters showing an x – both armies are burning down fast, and the two leaders are still standing next to each other on the hill. His artillery has come up on the eastern side, which on a map this small is a real problem.

The decisive corner of the map, close up. My leader and Janek’s a single space apart on the Hagelberg hill, his artillery line to the east, his infantry pressing in from the south. My remaining formations in the south-west were simply too far away from where it mattered.
Summary: Janek won 8-7 – again a single point. Hagelberg is a much harsher scenario than Rivoli and the French position is genuinely awkward, but it never felt unfair, only hard. What I appreciated most is how the three special rules on the folder produce a battle that feels like the historical one without adding a single extra subsystem. Rain, raw militia and a surprised division, expressed in three short paragraphs of text.
First Impressions
I thought for a long time about how to describe this game. The word I keep coming back to is elegant. By that I mean the maximum of effect from the minimum of means:
- The rules give you exactly enough. There is precisely as much complexity as is needed to open up real options on the board, and precisely as little as is needed to stop the game turning into a multi-hour ordeal. That balance is much harder to hit than it looks and Mr Mori does that splendidly.
- The counters are simple but complete. Type, quality and unit class are all on the piece, and you read them instantly. No charts, no cross-referencing.
- Two counters per unit is a brilliant idea. Columns against lines is one of the defining tensions of Napoleonic warfare, and here it is solved simply by how you arrange the two pieces in the space. The square falls out of the same idea for free. You can see a unit’s formation across the table without picking anything up. No additional markers needed.
- The ending is a genuine unknown. Nobody quite knows when the battle stops, but you obviously want more points than your opponent when it does, and the player who is ahead is the one who gets to test it. That produces real pressure without any artificial clock.
- Separate Battle Boards for each scenario are a simple solution and enormously functional. All the important rules are right there in front of you, including the victory conditions, and you never open the rulebook mid-game to check what a village does on this particular map.
The components are, as Janek put it, a little plain. That is fair – this is cardboard, wooden pawns and paper maps, not a deluxe production. It is worth saying that it does not matter much in play, because everything fits as it should and is pretty functional. It is also a shame that the base box holds only four scenarios; we played two of them, one of which I took on the razors edge and the other of which Janek did. The Battlefields Packs and the coming new edition should take care of that.
So far, this is my discovery of 2026!
See you in another report!
Definitely looks like it has a great table presence!
Indeed! Using minimal resources that gives so much depth and fun! Recently I really so not so many games like that.
Looks extremely interesting! I’m excited for more session reports!
We hope to play another 2 scenarios soon; then if Janek will get expansion pack, there should be more!